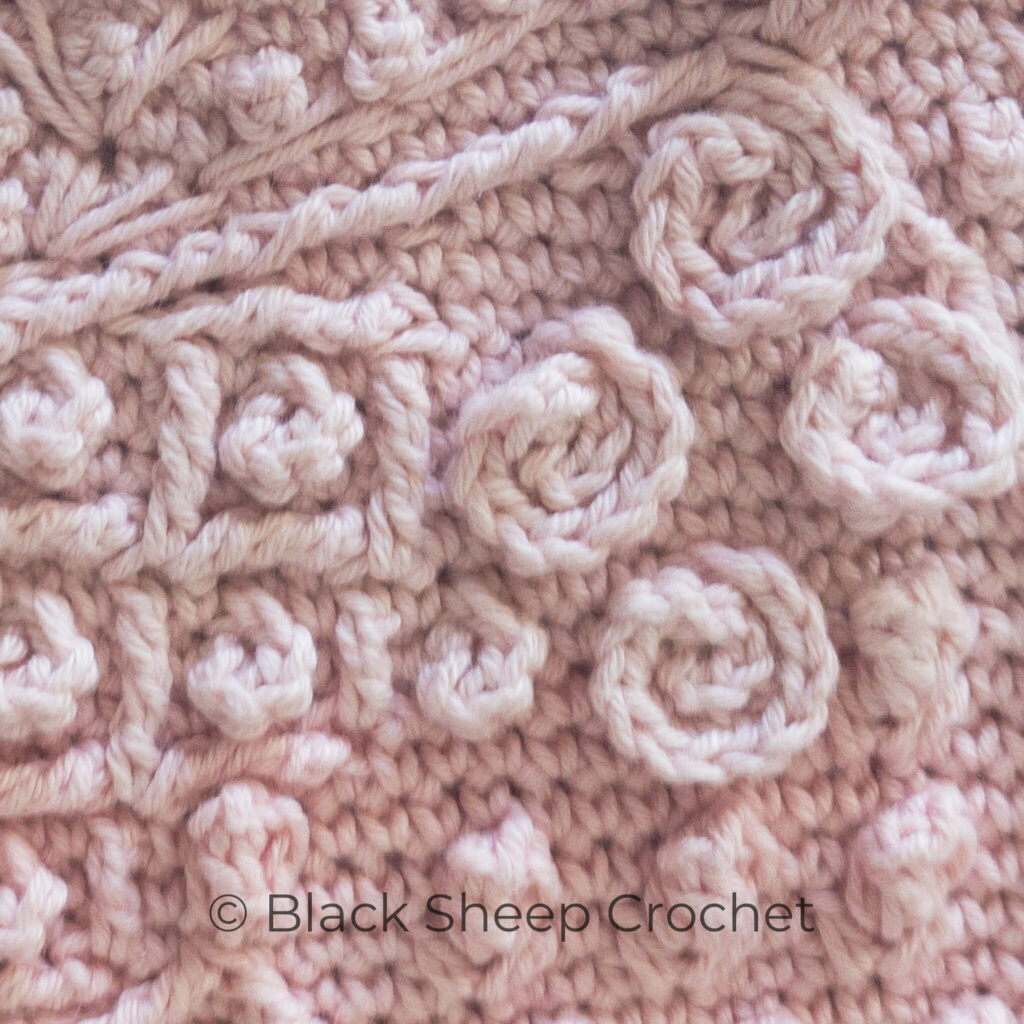
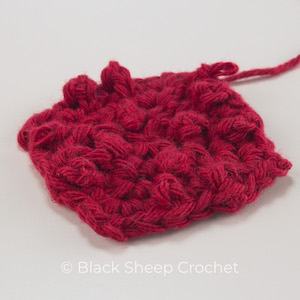
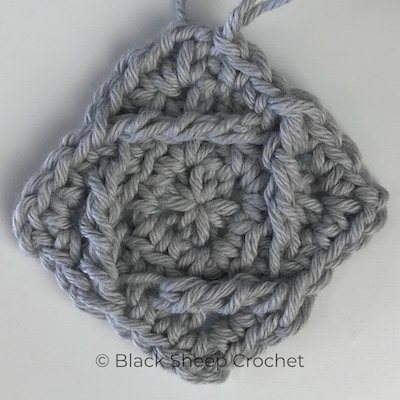
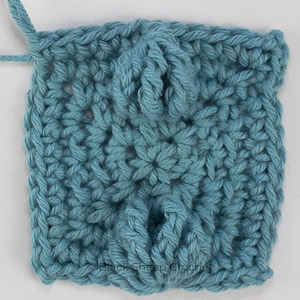
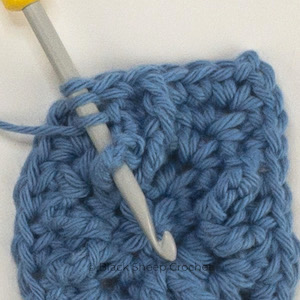
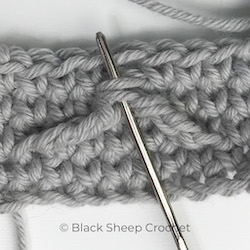
Many of the Black Sheep Crochet projects, for example, all Wrapped in Jamie squares many Heirloom squares and some Afghan squares, are designed in ‘Image Overlay Crochet’ technique – IOC.
In order to easily describe where to place the overlay stitches, I have created a special way of writing these patterns. A member of my facebook group called this way of stitch placement description ‘Petranese’ and the name stuck.
With the introduction of other Image Overlay Crochet designers and even contributors to the crochet system, ‘Petranese’ does not seems appropriate anymore, which is why from June 2021 onwards, the term ‘Petranese’ is officially replaced by ‘Image Overlay Crochet’ or IOC for short.
You can read more about IOC and the difference to traditional overlay Crochet here:
What on Earth is Image Overlay Crochet / IOC / Petranese?
Petranese, at first glance, may look quite complicated, but in fact, it is not!
You will most likely already know most of the stitches used and I will explain how to read the abbreviations for any special stitches and how to make them step-by-step in this tutorial.
You will also be able to follow a continuously growing number of video tutorials for these and other stitches on this website and the YouTube channel.
Crochet Terminology, Abbreviations and Punctuation
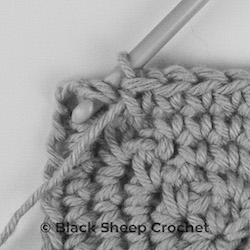
The crochet technique used in the Wrapped in Jamie and the Heirloom Pattern squares is called ‘overlay crochet’. Overlay means that there are usually two layers of stitches. In the WiJ and most of the Heirloom Patterns, the first layer is made up of single crochet stitches. When single crochet stitches are worked in the back loops only, they leave a free front loop. This free front loop can be used to ‘anchor’ a long stitch (i.e. treble or double treble) that will be made in a later round.
The overlay technique allows us to create projects of two or even more layers, to ‘paint’ a picture or to ‘write stories in yarn’. A word of warning though: once you start getting the hang of making overlay projects they can get quite addictive 🙂
| st/sts | stitch / stitches |
| ch/chs | chain / chains; ch1 - make 1 chain, ch2 - make 2 chains... |
| ch-sp | chain space - a space that is created by making several chs in a row |
| lp/lps | loop / loops |
| yo | yarn over - make a loop around the hook or grab the yarn with your hook |
| FLO | front loop only - sts made in the front loop only of the indicated st |
| BLO | back loop only - sts made in the back loop only of the indicated st |
| fp | front post st - followed by the kind of stitch that will be made around a stitch from a previous round |
| bp | back post st - followed by the kind of stitch that will be made around a stitch from a previous round |
| rs/RS | right side of the work |
| ws/WS | wrong side of the work |
| 'x' sc / dc | work 1 sc / dc in each of the next 'x' stitches |
| 2tog/2TOG 3tog/3TOG | 2 or 3 sts worked together; the number of legs determines the "x"TOG |
| [ ] | square brackets indicate hard-core repeats for 1 side of the square, consisting of multiple instructions |
| ( ) | bold parenthesis indicate lower level repeats (i.e. (2 sc, sc in BLO) ) OR a group of sts that will be worked into the same st or sp (i.e. (sc, ch2, sc) into the corner sp) |
| ( ) | normal weight parenthesis indicates a group of sts that will be worked into the same st or sp (i.e. (sc, ch2, sc) into the corner sp) |
| * | asterisks indicate notes / tips / alternatives within the written pattern OR hardcore repeats for 1 side in the photo tutorials |
| sum/st marker | stitch marker (this could also be a hairpin or even just scrap yarn) |
Basic stitches - Abbreviations and Definitions
| ss | slip stitch | insert hook into indicated st, yo, pull through the loop, then pull through the loop on the hook |
|---|---|---|
| sc | single crochet | insert hook into indicated st, yo, pull through (2 loops on the hook), yo and pull through both loops on the hook |
| hdc | half double crochet | yo (2 loops on hook), insert hook into indicated st, yo and pull through (3 loops on hook), yo and pull through all 3 loops on the hook |
| dc | double crochet | yo (2 loops on hook), insert hook into indicated st, yo and pull through (3 loops on hook), yo and pull through 2 loops (2 loops on hook), yo and pull through both loops on the hook |
| htr | half treble crochet | yo twice (3 loops on hook), insert hook into indicated st, yo and pull through (4 loops on hook), yo and pull through 2 loops (3 loops on hook), yo and pull through all 3 loops on the hook |
| tr | treble crochet | yo twice (3 loops on hook), insert hook into indicated st or loop, yo and pull through (4 loops on hook), yo and pull through 2 loops (3 loops on hook), yo and pull through 2 loops (2 loops on hook), yo and pull through both loops on the hook |
| hdtr | half double treble crochet | yo 3 times (4 loops on hook), insert hook into indicated st, yo and pull through (5 loops on hook), (yo and pull through 2 loops) twice (4 / 3 loops on hook), yo and pull through all 3 loops on the hook |
| dtr | double treble crochet | yo 3 times (4 loops on hook), insert hook into indicated st, yo and pull through (5 loops on hook), (yo and pull through 2 loops) 3 times (4 / 3 / 2 loops on hook), yo and pull through both loops on the hook |
| trtr | triple treble crochet | yo 4 times (5 loops on hook), insert hook into indicated st, yo and pull through (6 loops on hook), (yo and pull through 2 loops) 4 times (5 / 4 / 3 / 2 loops on hook), yo and pull through both loops on the hook |
| FLO | front loop only | sts made in the front loop only of indicated st |
| BLO | back loop only | sts made in the back loop only of indicated st |
| fp | front post st | followed by the kind of stitch that will be made around a stitch from a previous round in the front of the work |
| bp | back post st | followed by the kind of stitch that will be made around a stitch from a previous round in the back of the work |
| “x” sc | "x" single crochet | means: work 1 sc in each of the next “x” stitches; |
| “x” dc | "x" double crochet | means work 1 dc in each of the next stitches “x” stitches; |
Petranese "Overlay" Crochet Terminology
One of my Facebook Wrapped in Jamie CAL group members invented the term ‘Petranese’ to describe my way of writing the positioning of special stitches – I love the idea and therefore have adopted it. As far as I know, there is no existing easy system of describing these special stitches, so I had to make up my own. I hope you find it useful.
Counting Stitches & Rounds, Finding Free Front Loops
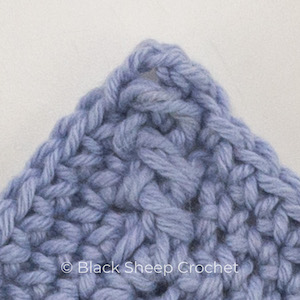
Stitches in previous rounds, angular stitches or angular <2-together stitches used in many of my square designs may look complicated, but they really are not.
Once you know how to count stitches and rounds – or rather how they are counted in the patterns -, everything will become easy and logical. So please have a good look at the explanations below.
Stitch definition abbreviations consist of 3 parts:
stitch _ horizontal placement – vertical placement
The stitch description gives you details for each of those three parts in plain text:
- stitch type
- horizontal placement (stitches ahead or behind/backwards)
- vertical placement (how many rounds below)
Stitch type defines what kind of stitch is going to be worked, whether it is a simple or special stitch, a front post or a back post stitch or a stitch just in one specific loop (front, back or third loop).
The placement definitions are added as numerals after the type of stitch and “_”:
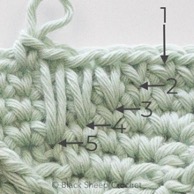
- the first numeral always gives the direction and the number of stitchesyou have to count, starting from the next stitch:
“+” means: count ahead; +3 i.e. means it is the 3rd stitch after the next stitch
“–” means: count backwards; -3 i.e. means it is the 3rd stitch counted backwards / behind the next stitch
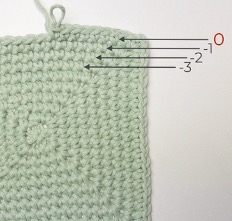
- the second numeral always indicates the round where the stitch has to be made, starting from the current round:
-1 means: the last round that you made, the one you would now “normally” crochet into = 1 round below the current round
-2 means: 2 rounds below the current round
-3 means: 3 rounds below the current round
Counting Stitches
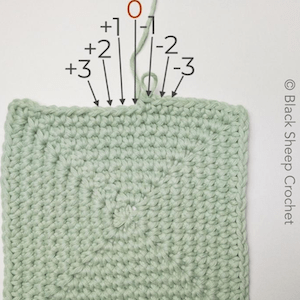
0 = next stitch
+1 = 1 stitch ahead of the next stitch
+2 = 2 stitches ahead of the next stitch
+3 = 3 stitches ahead of the next stitch
-1 = 1 stitch behind /back from the next stitch
-2 = 2 stitches behind the next stitch
-3 = 3 stitches behind the next stitch
Counting Rounds
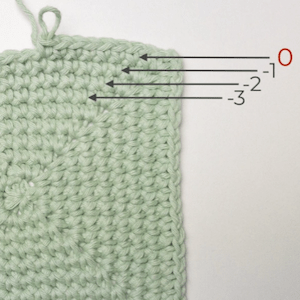
0 = current / working round
-1 = 1 round below the current round; the
round you “normally” work into
-2 = 2 rounds below the current round
-3 = 3 rounds below the current round
Finding Free Front Loops
When we make a back loop stitch (“st in BLO”), the front loop of this stitch stays free. We will use this free front loop in a later round to ‘anchor’ a stitch (“st in FLO”).
Example with numbers:

Stitches you make in the current round are stitches in ‘Round 0’.
The stitches you made in the previous round are stitches in ‘Round -1’.
A stitch you work in BLO in the current round (0-0) leaves a free front loop from the stitch in the previous round (0-1). The front loop belongs to the stitch from ‘Round -1’. In the next round, this will be a free front loop of the stitch from ‘Round -2’ – the FLO of the st 2 rounds below. (0-2).
- The last round finished (no dots underneath front loops) are front loops of the stitches 1 round below (-1)
- The blue dots underneath the free front loops indicate the front loops of the stitches 2 rounds below (-2)
- The green dots underneath the free front loops indicate the front loops of the stitches 3 rounds below (-3)
- The red dots underneath the free front loops indicate the front loops of the stitches 4 rounds below (-4)
Placing stitch markers into the free front loops after you worked a sc in BLO in the current round will be helpful to find the front loops more easily later on.
Special Stitches - combining stitch and round counting
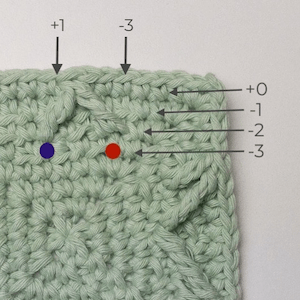
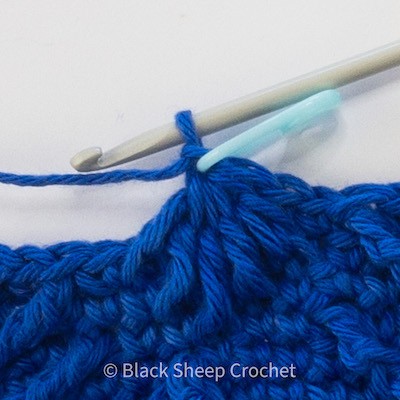
The photo shows an example for a special stitch; more about angular and <2tog-stitcheswill be explained in later chapters
This is a
tr_-3-3 in FLO/tr_+1-3 in FLO/<2tog,
meaning 2 treble are worked together:
- the first leg is a treble in the front loop only of the st 3behind and 3 rounds below the next stitch (red dot)
- the second leg is a treble in the front loop only of the st 1 ahead and 3 rounds below the next stitch (blue dot)
No Rules Without Exceptions
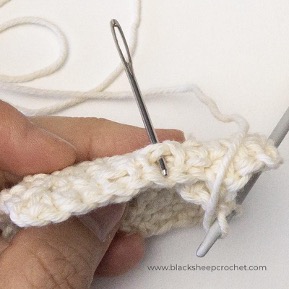
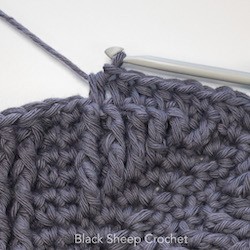
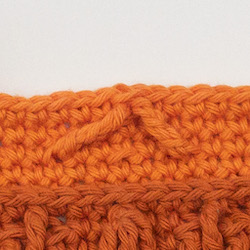
WS view of the position of a dcbb or hdcbb:
The hdcbb or dcbb will be worked into the top loops of the skipped stitch below = behind and below the special stitch (indicated loops, 2 rounds below)
In our “old Petranese” we used letters to explain the position of a stitch.
We also introduced special abbreviations for “padding stitches”, the ones that are made behind special stitches to enhance the special 3D effect and/or to close gaps.
We will continue to use the abbreviations for hdcbb or dcbb (see chapter “Stitch Variations”).
The padding stitches are made “behind” and “below” a special stitch, in the stitch that was skipped because of a special stitch.
This “behind” actually means “on the wrong side of the work”. The special stitch stays in front, the behind-below-stitch is made as a “padding” for it.
Part 2
In Part 2 of our “Petranese” explained Tutorial, we look at
- Working stitches in front loops, back loops and 3rd loops
- Angular Stitches
- Front Post Stitches
- Back Post Stitches
- Padding Stitches and Variations to Special and other Stitches
The free “Petranese” explained – Basics PDF you can download here or below contains both Part 1 and Part 2.
More free 'Petranese' explained Tutorials
‘Petranese’ explained –
dcbb – double crochet behind and below
‘Petranese’ explained –
hdc/hdcbb or double hdc tutorial
‘Petranese’ explained –
Long dc Star (5 legs) tutorial
More tutorials:
