Many of the Black Sheep Crochet projects, for example all Wrapped in Jamie squares, many Heirloom squares and some Afghan squares, are designed in ‘overlay crochet’ technique.
In order to easily describe where to place the overlay stitches, I have created a special way of writing these patterns. A member of my facebook group called this way of stitch placement description ‘Petranese’ and the name stuck.
Petranese, at first glance, may look more complicated than it actually is!
You will most likely already know most of the stitches used and I explain how to read the abbreviations for any special stitches and how to make them step-by-step in the ‘“Petranese” explained’ – Basics 1&2 Tutorials, the PDF document of which you can download here:
https://blacksheepcrochet.com/product/petranese-explained-basics1/
You will also be able to follow a continuously growing number of video tutorials for this and other stitches on the website and the YouTube channel.
Website: https://blacksheepcrochet.com/crochet-tutorials/
YouTube channel: https://www.youtube.com/channel/UCJ3yOPrTEqkOFPZjrCCovbQ/videos
Why use a Clover Blossom?
Decorative stitches are fabulous to tell a story in overlay crochet.
Flowery, decorative stitches in particular add a feminine element to an overlay crochet design.
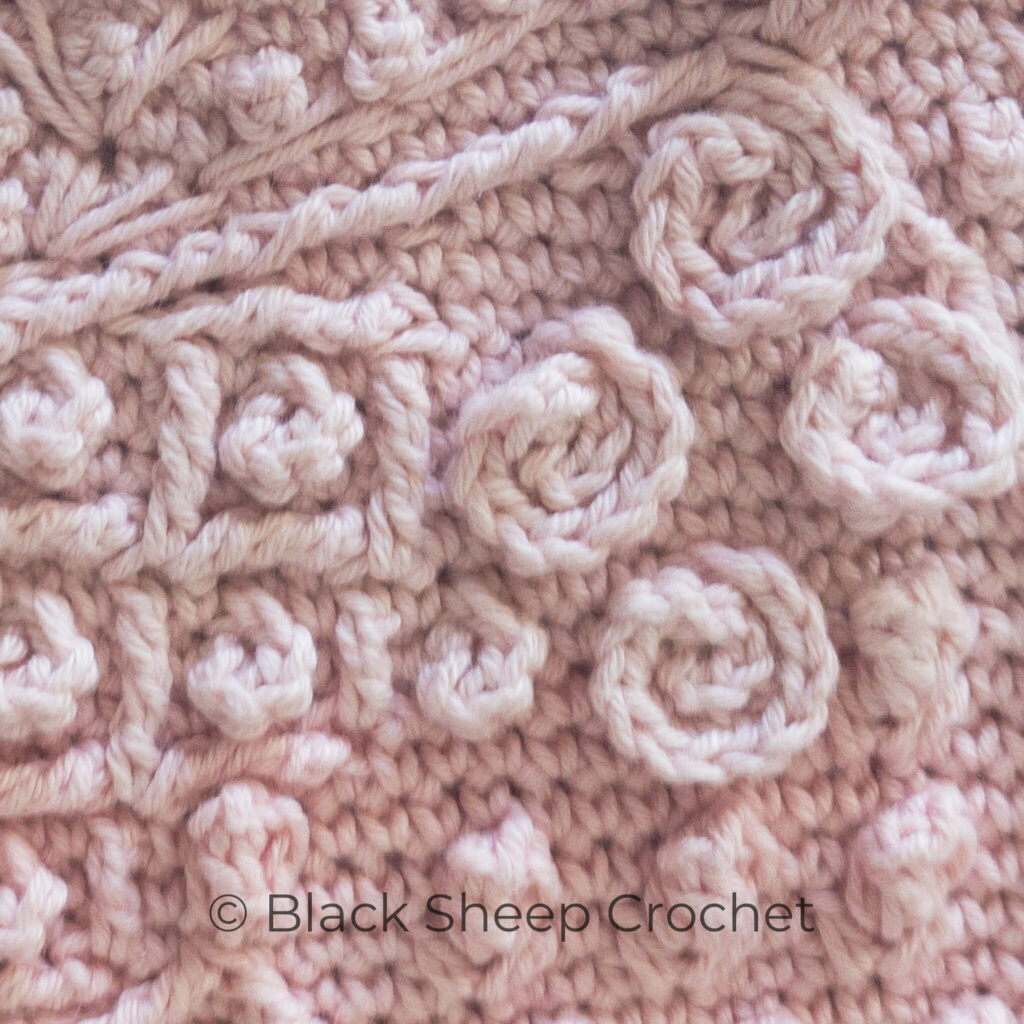
The main element in Part 3 of the Claire Square – the first square in Season 2 of the Wrapped in Jamie CAL – is defined by flowery stitches: Rose Bud, Big Rose, Small Rose, Clover Blossom and others.
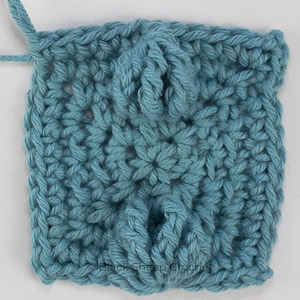
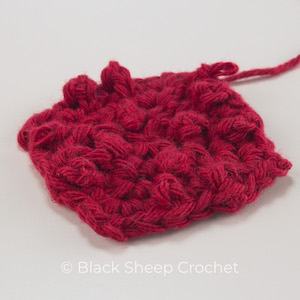
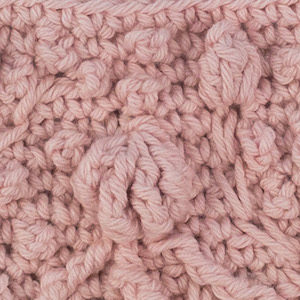
The Clover Blossom is a decorative stitch that adds a three-dimensional element and offers a range of options to change its appearance by adding to it.
What is a Clover Blossom?
A Clover Blossom is a decorative stitch that can be seamlessly integrated into a crochet piece.
It is suitable to be worked in the round/square or in rows.
The Clover Blossom adds dimension to an image overlay crochet project and can be extended to become a complete ‘image’ that tells a story.
How to work the Clover Blossom
Step-by-step
photo instructions below
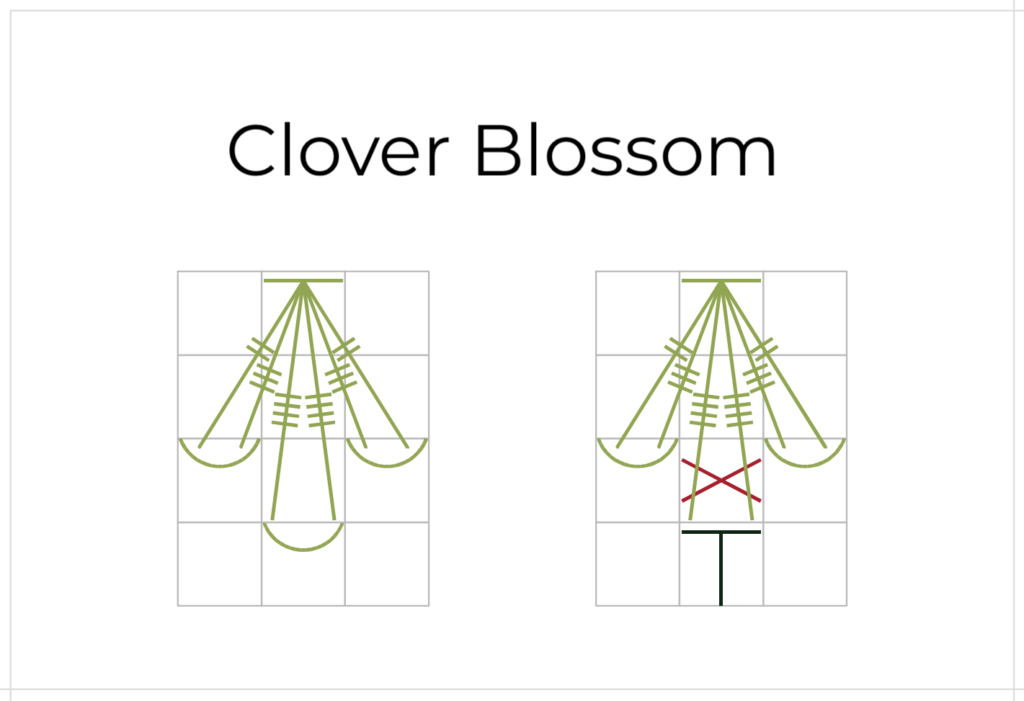
Clover Blossom – 6 sts together with
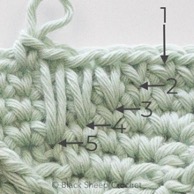
- leg 1: a treble in the FLO of the st 1 behind and 2 rounds below the next st
- leg 2: a double treble in the FLO of the st
1 behind and 2 rounds below the next st (same FLO as leg 1) - legs 3 and 4: a triple treble in the st 3 rounds below the next st
- leg 5: a double treble in the FLO of the st
1 ahead and 2 rounds below the next st - leg 6: a treble in the FLO of the st 1 ahead and 2 rounds below the next st (same FLO as leg 5)
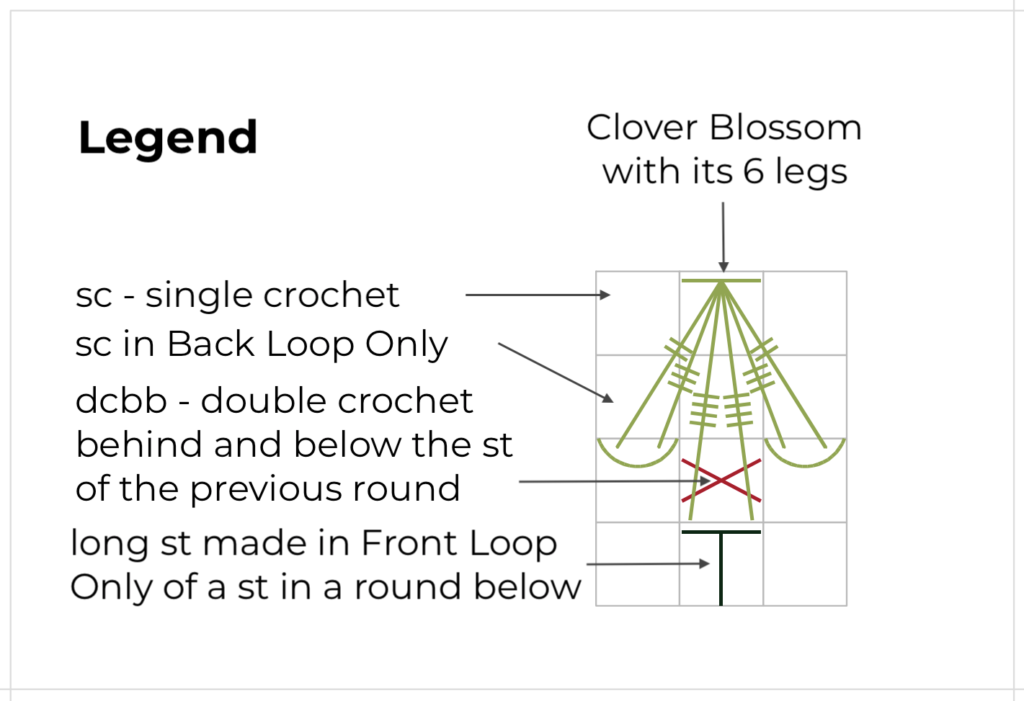
Chart Symbol
Preparation for working the Clover Blossom
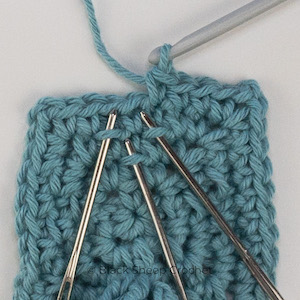
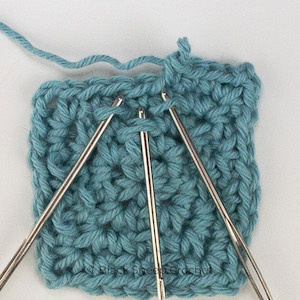
You will either need
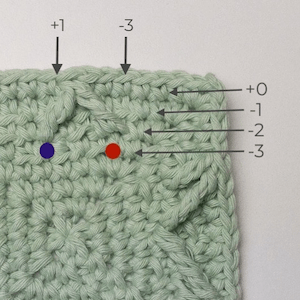
3 free front loops (arranged as indicated)
Work a sc in BLO in a st in one row/round, so that the front loop of the st says free to be worked into;
In the next round, work a sc in BLO in the st before and after the sc in BLO below;
Work the Clover Blossom above the center FLO, between the two free FLO;
or a stitch and front loops to work into
(arranged as indicated)
Work a dcbb behind a st that was worked in FLO, so that the top loops of the special st stays free to be worked into;
In the next round, work a sc in BLO in the st before and after the dcbb below;
Work the Clover Blossom above the dcbb, between the two free FLO;
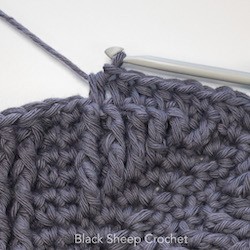
Clover Blossom Step-by-Step Instructions (over dcbb)

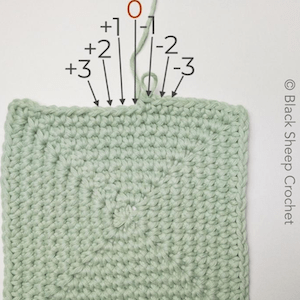
sc up to the st that is 1 st before the dcbb below

leg 1: tr in FLO of the st 1 behind and 2 rounds below the next st (indicated)
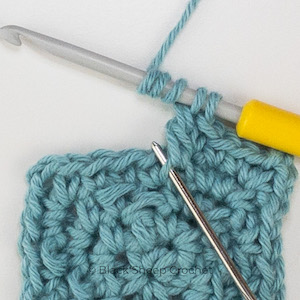
leg 2: dtr in FLO of the st 1 behind and 2 rounds below the next st (same FLO as leg 1; indicated)
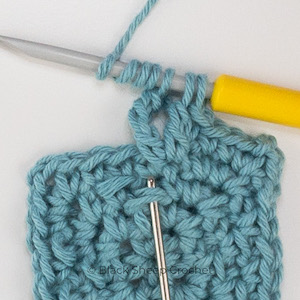
leg 3: trtr in the st 3 rounds below the next st (indicated)
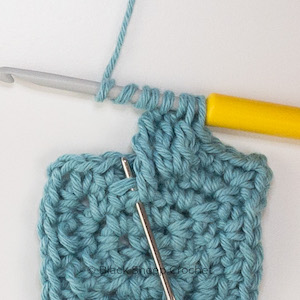
leg 4: trtr in the st 3 rounds below the next st (same as leg 3, indicated)
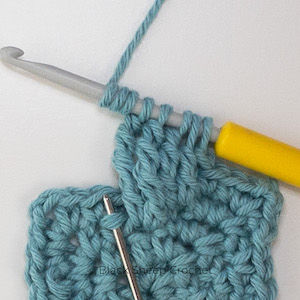
leg 5: dtr in FLO of the st
1 ahead and 2 rounds below the next st (indicated)
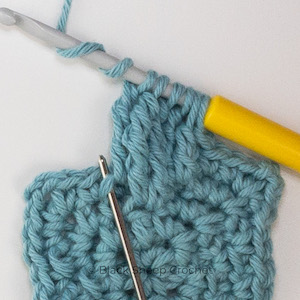
leg 6: tr in FLO of the st 1 ahead and 2 rounds below the next st (same FLO as leg 5, indicated)
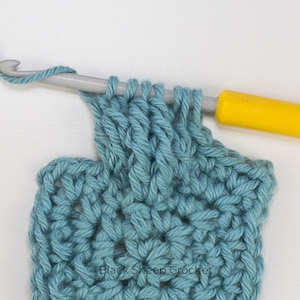
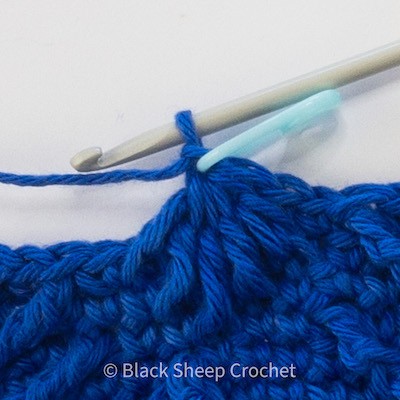
you should now have 7 loops on the hook;
yo and pull through all loops
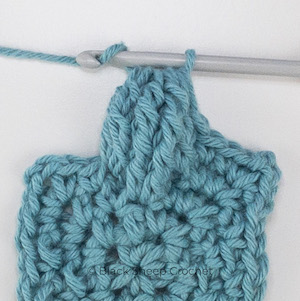
close the st with a ch1
(your Clover Blossom will have 2 loops to potentially work into; unless instructed otherwise, choose only 1; see also below)
Continuing on after the Clover Blossom
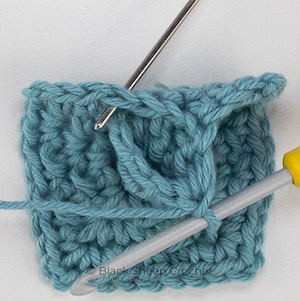
skip the st behind the Clover Blossom, continue in the next (indicated; top view)

skip the st behind the Clover Blossom, continue in the next (indicated; RS view)
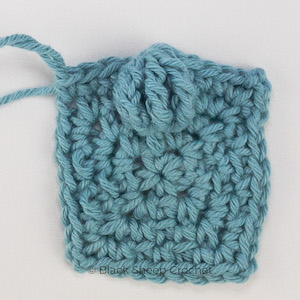
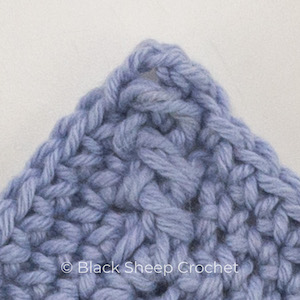
finished Clover Blossom (worked in top loop and front loops)
Clover Blossom Step-by-Step Instructions (over FLOs)

sc up to the st that is above the first FLO below; work legs 1 and 2 as described above (over dcbb)
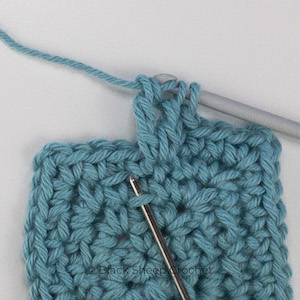
work legs 3 and 4 as described above (over dcbb) into the FLO of the st 3 rounds below (indicated)
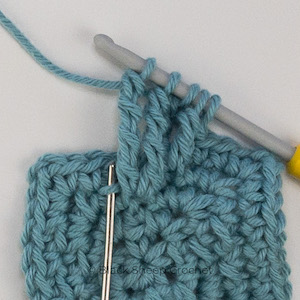
work legs 5 and 6 as described above (over dcbb) in the FLO of the st 1 ahead and 2 rounds below the next st (indicated)
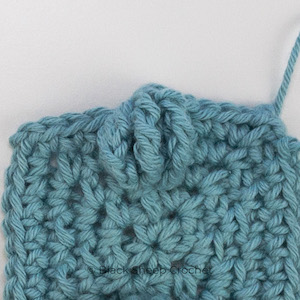
Finished Clover Blossom (worked in front loops)
Working over the Clover Blossom - Options
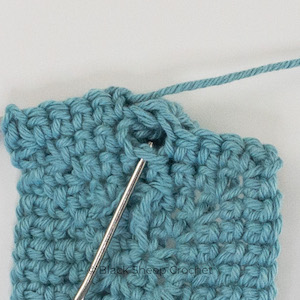
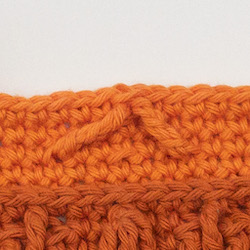
dcbb in the st behind the Clover Blossom (indicated on the WS)
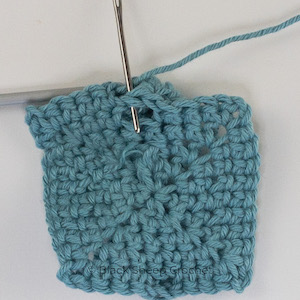
sc in the ‘normal’ loops of the Clover Blossom (indicated on the WS)
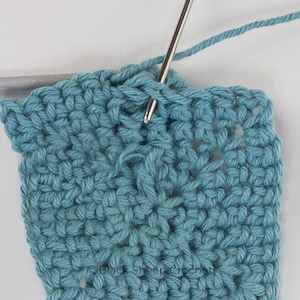
sc in the closing ch of the Clover Blossom (indicated on the WS)

fpsc or fphd around the Clover Blossom (indicated on the RS)
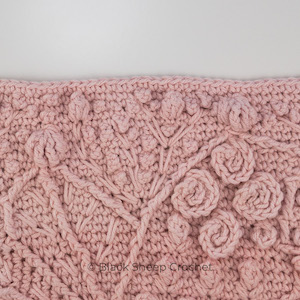
Clover Blossom incorporated in ‘Claire‘
Video Tutorials
Clover Blossom Right-handed
Clover Blossom Left-handed
More Free Tutorials
‘Petranese’ explained –
dcbb – double crochet behind and below
‘Petranese’ explained –
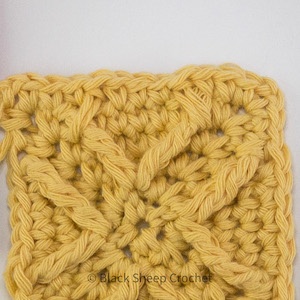
Long dc Star (5 legs) tutorial
‘Petranese’ explained –
Clover Blossom
