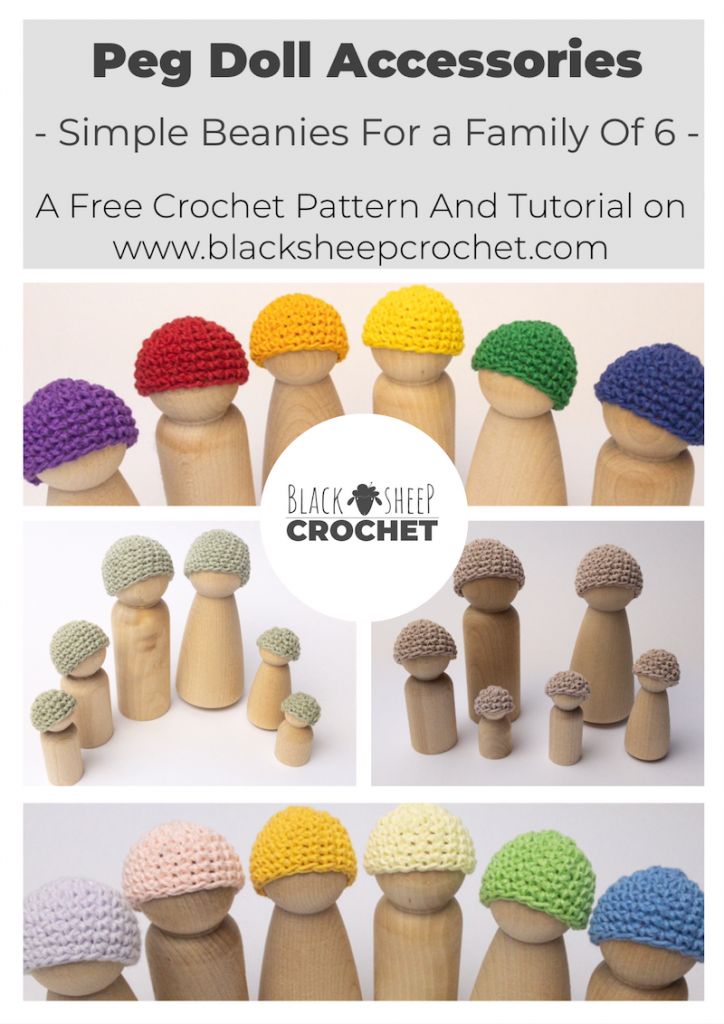
Little People Patterns
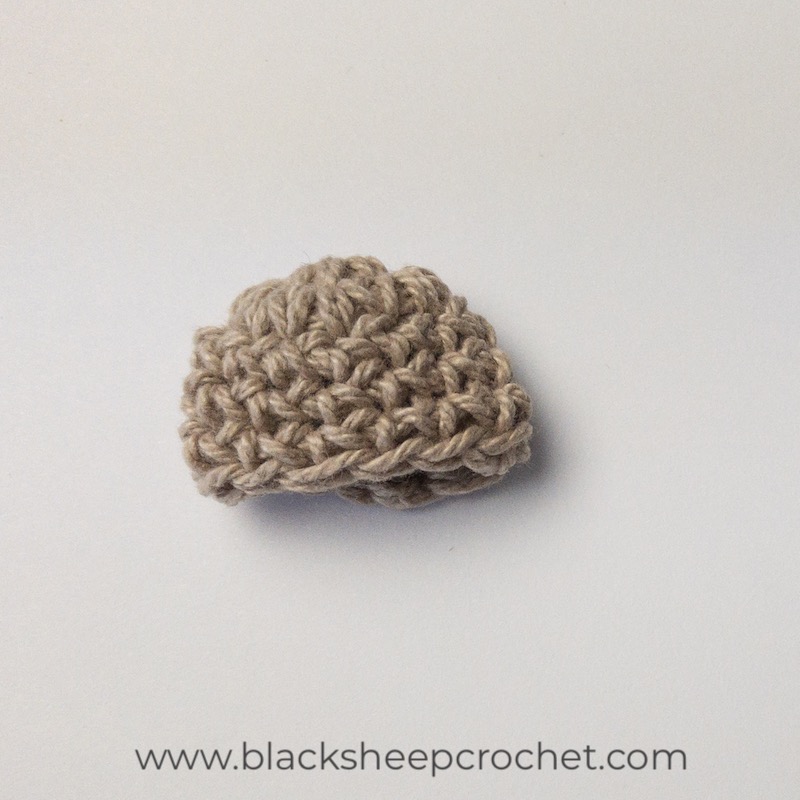
Peg Doll Simple Beanie Crochet Pattern
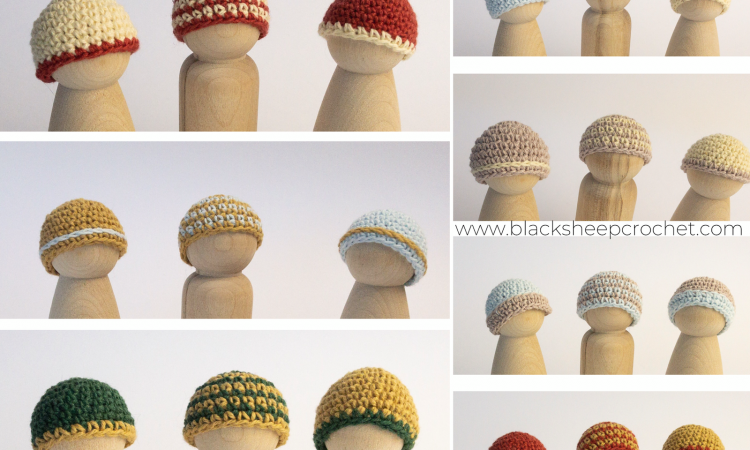
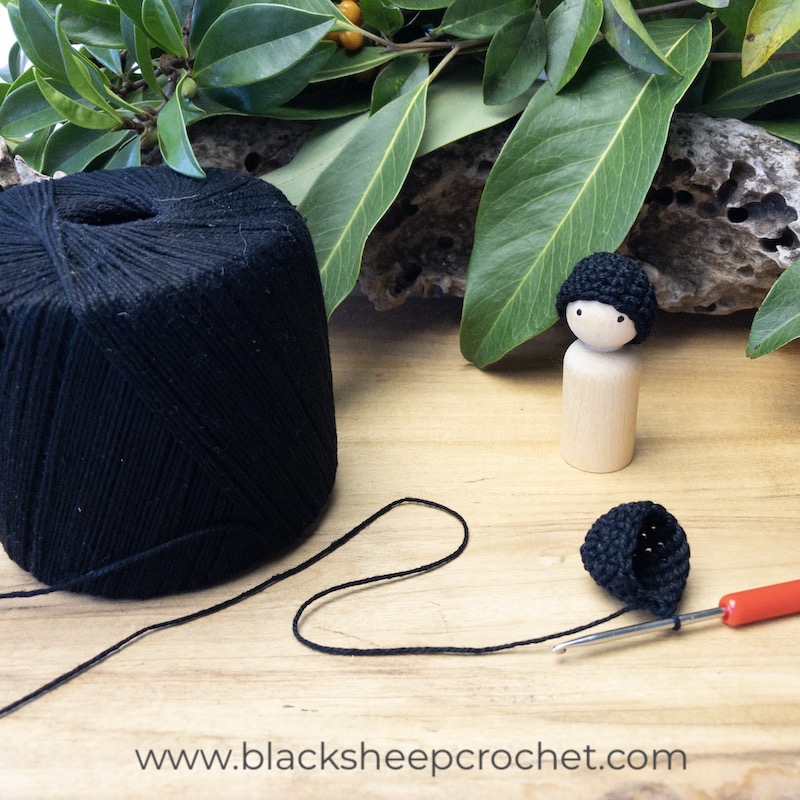
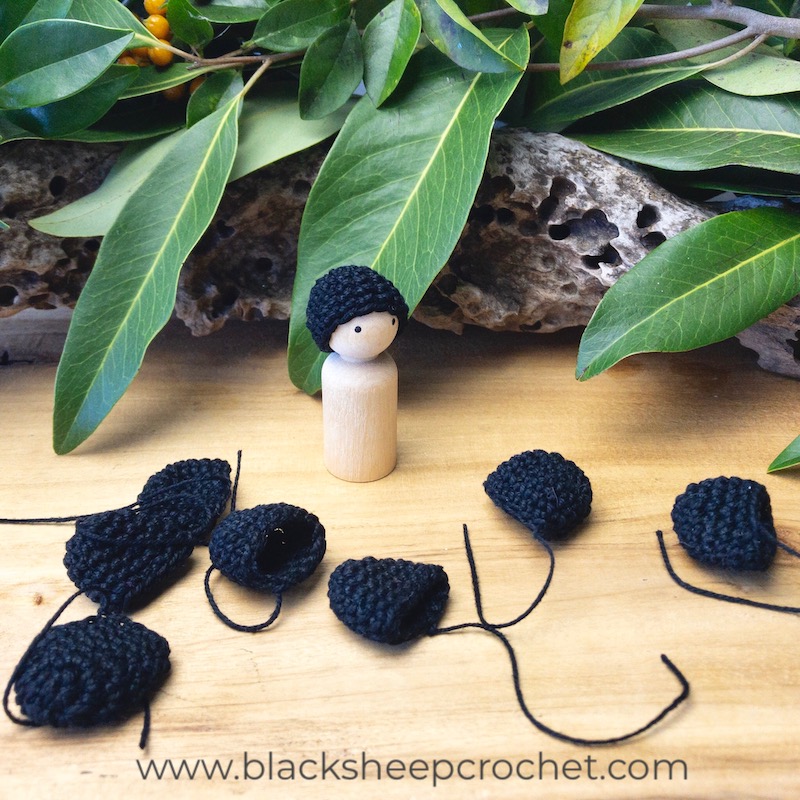
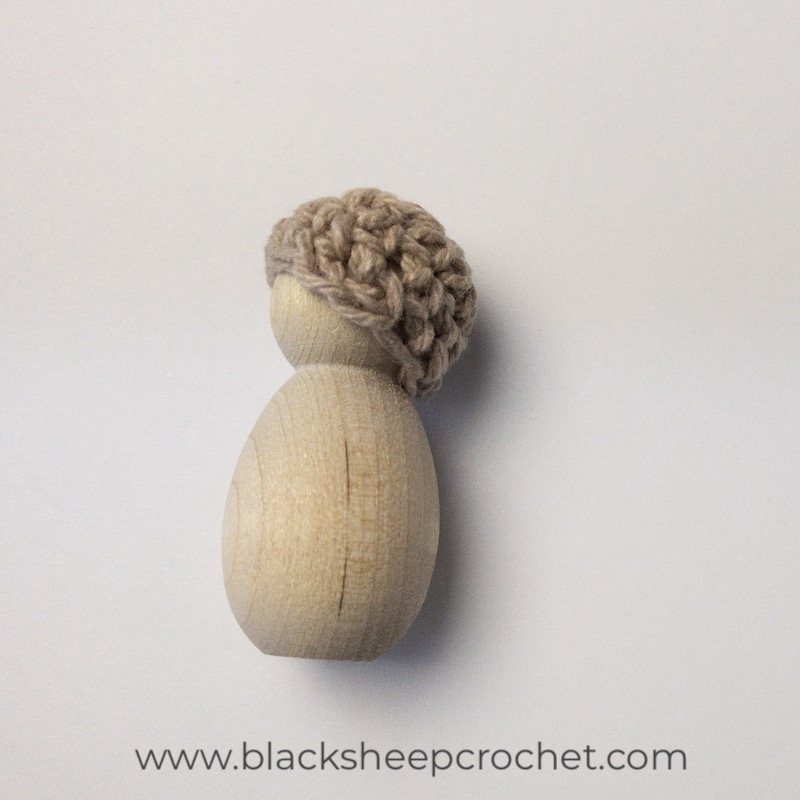
After a friend asked me if I could make her some hats for Peg Dolls she wanted to sell at a Waldorf festival, I got into a bit of a frenzy making them in all kinds of colour variations. I really do like how simply using different kinds of colour combinations additional to using stripes or just a rim for the hats can change the look and feel of the Peg Dolls.
An ad-free PDF is available for download in the shop in either US or UK terms. Each version contains a printable version (without pictures) and a photo tutorial with step-by-step written and visual instructions.
Crochet Cotton Yarn or lace weight yarn, for example Scheepjes Sugar Rush in your favourite colour, alternatively fingering/sock-weight/4-ply wool or silk that gives you an approximate gauge of 26sts and 14 rows in single crochet for 10 x 10cm / 4 x 4″
Crochet hook size 2.5mm/UK 12/US B-1 or C-2/Japan 3 or 4 or whatever is necessary to obtain the correct gauge
Scissors
Tapestry needle
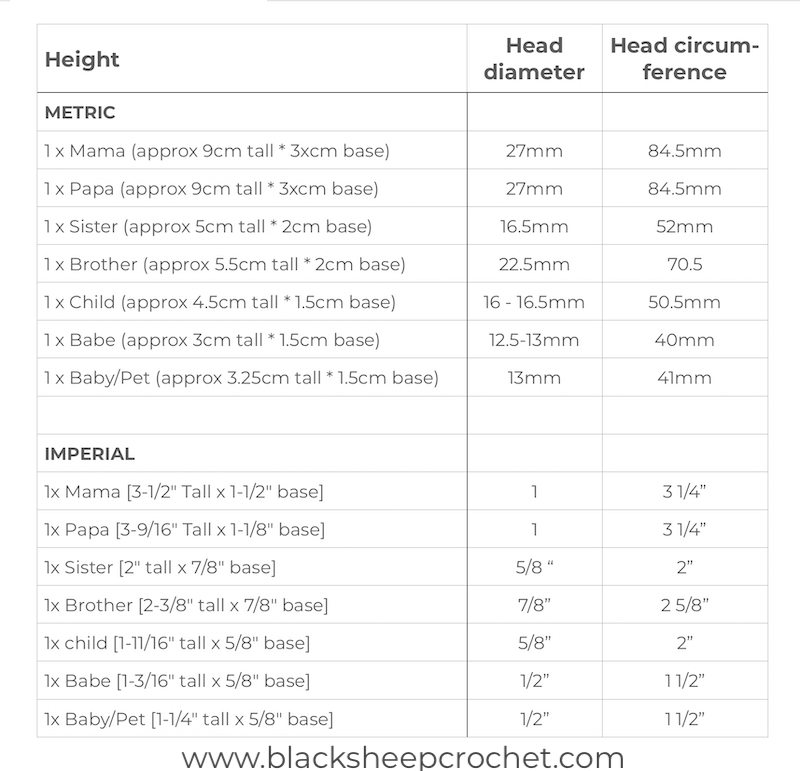
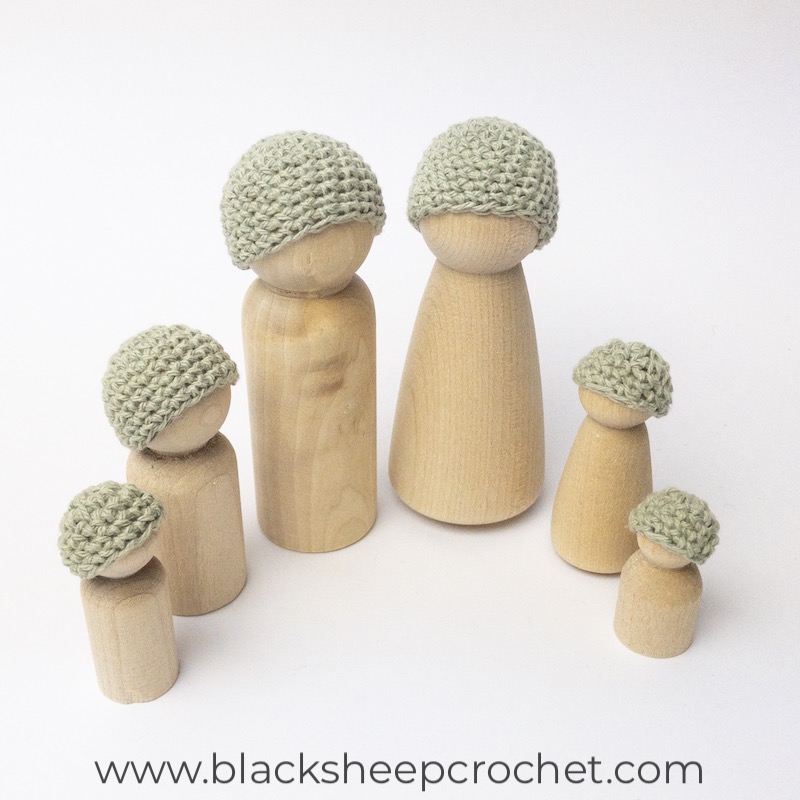
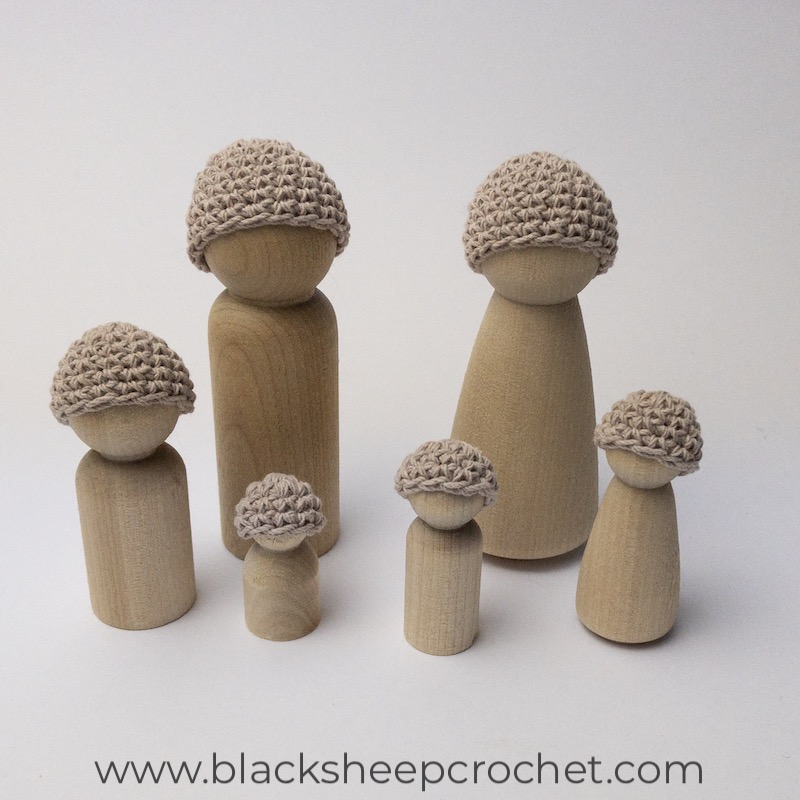
Beanies are designed to fit Peg Dolls in the following sizes:
Abbreviations
ch – chain sc – single crochet sk – skip sl – slip st/sts – stitch/es sp/s – space/s FLO – Front Loop Only BLO – Back Loop Only St m – stitch marker inc – increase dec – decrease
Increase: sc in indicated st, sc in same st again (2 sc in the same st)
Decrease: insert hook into FLO of next st, insert hook into FLO of the st after, yo and pull through both front loops, yo and pull through both remaining loops
If I can’t find anything suitable locally, I like to order my yarn from Wool Warehouse. They have been creating yarn kits for our Wrapped In Jamie CAL and the delivery was lightning fast, even to the US.
Pattern Notes:
Beanies are worked in the round, meaning we don’t join at the end of the round, but continue in a spiral
You can use a stitch marker (this can even be a piece of scrap yarn) to mark the beginning/end of the round
(…) – repeat the instructions as many times as indicated
Skill Level:
These projects are easy and suitable for beginners.
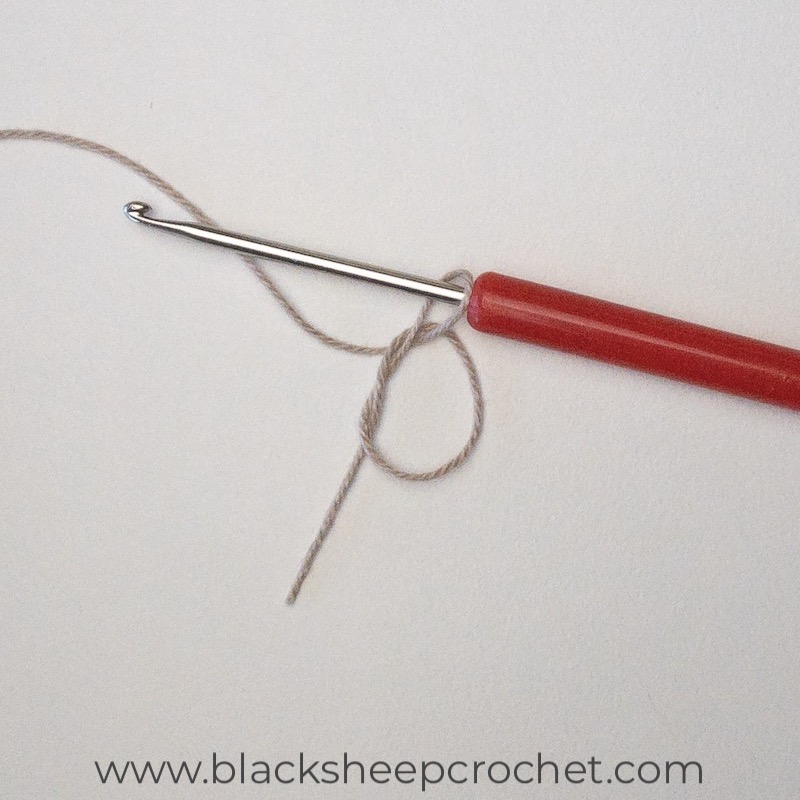
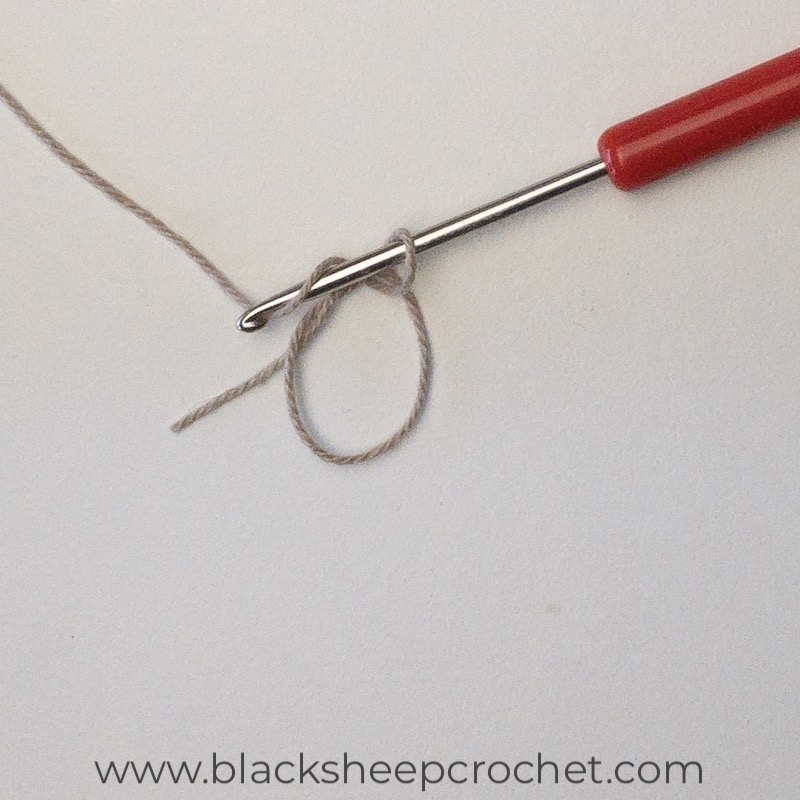
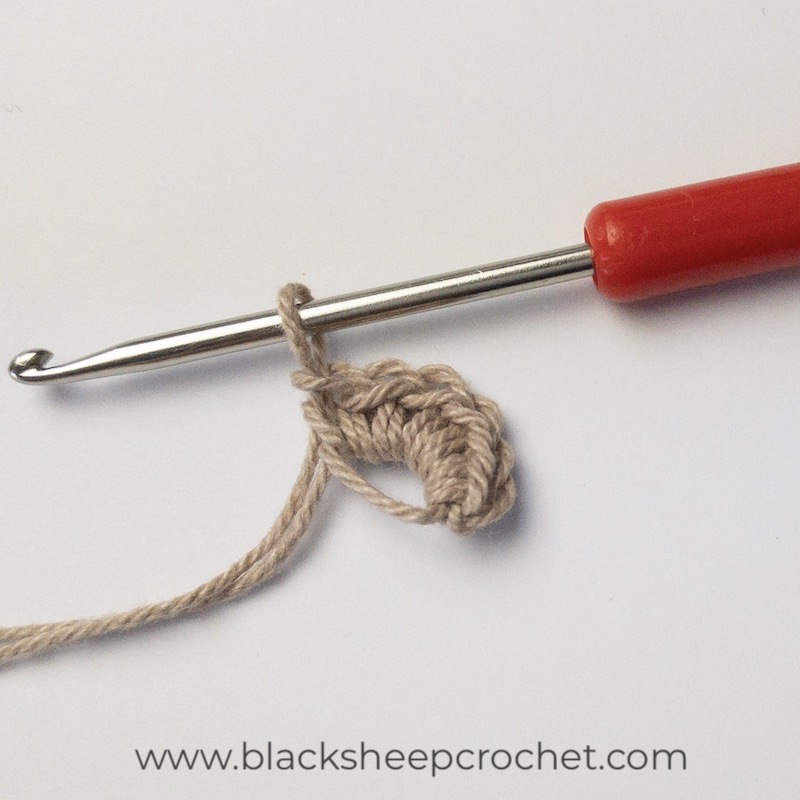
Start like you would make a slip knot, but instead of pulling it tight, leave it open and close with a chain.
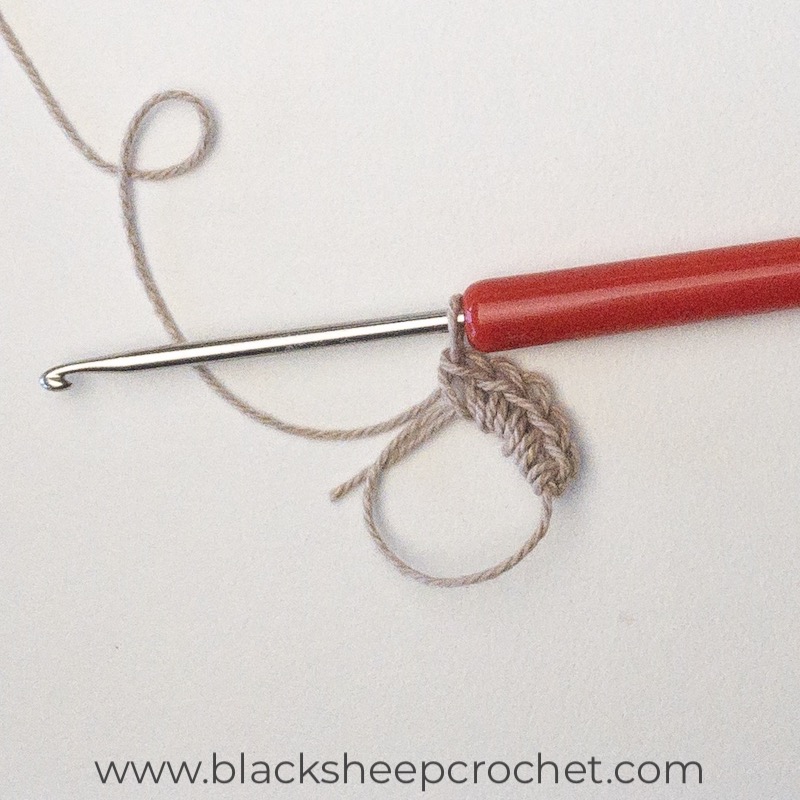
Round 1: 5 sc into Magic Ring, pull the ring tight [5 sc]
Optional but helpful: insert st m into the top of the last sc or place a piece of scrap yarn in front of your hook before you make the next sc.
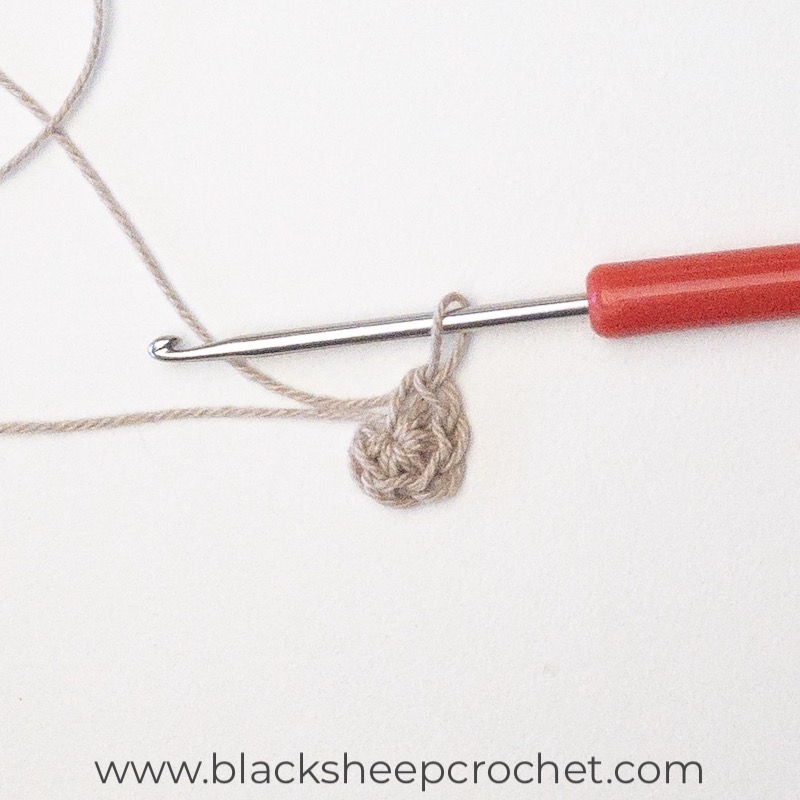
Round 2: Without joining, continue into the next stitch:
5 inc [10 sc] – Hint: you will make the last inc into the st with the st m, respectively in the last st before the piece of scrap yarn.
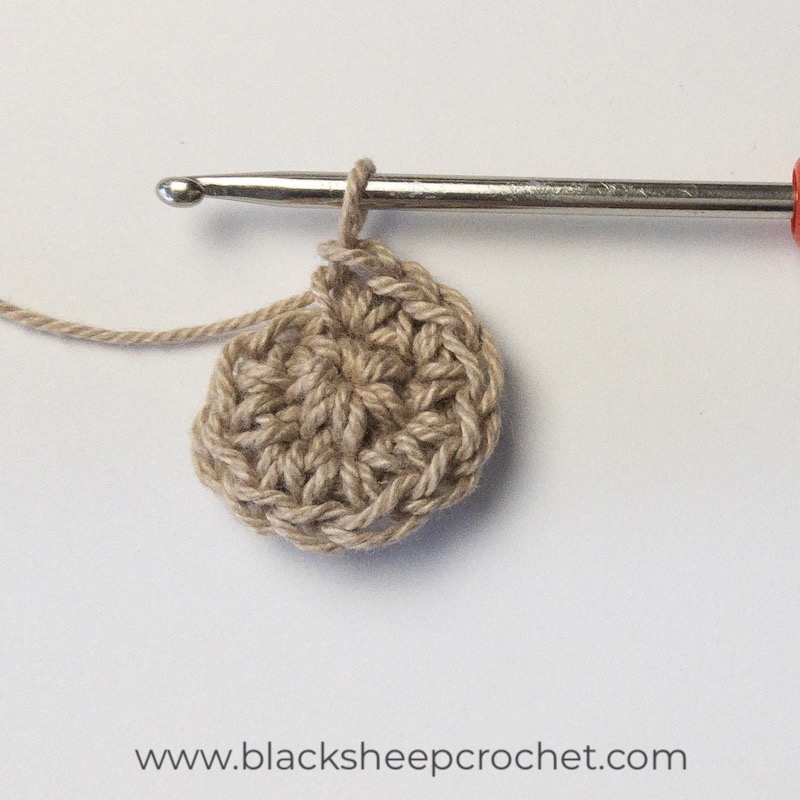
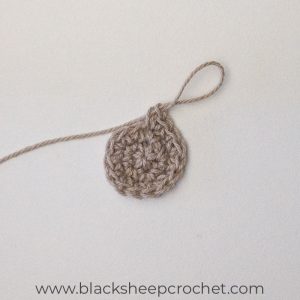
Round 3: (inc, sc) 5 times [15 sc]
Round 4: (2 sc, inc) 5 times [20 sc]
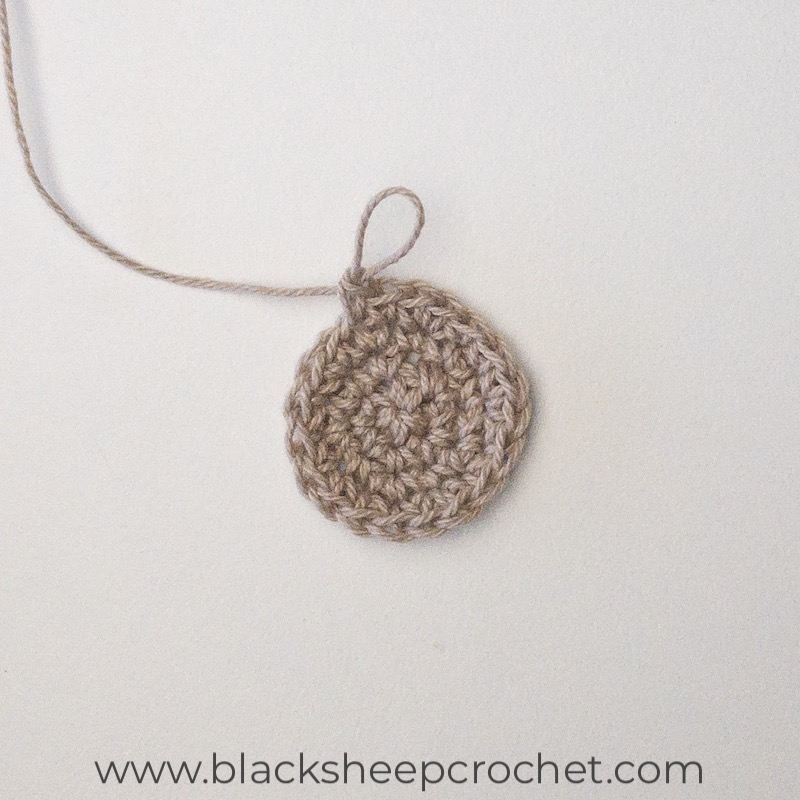
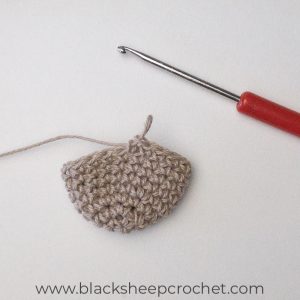
Rounds 5 – 9: sc in each st around [20 sc]
Measure your hat after Round 8 and again after round 9 to decide whether or not you want to add another round or the optional partial round 10.
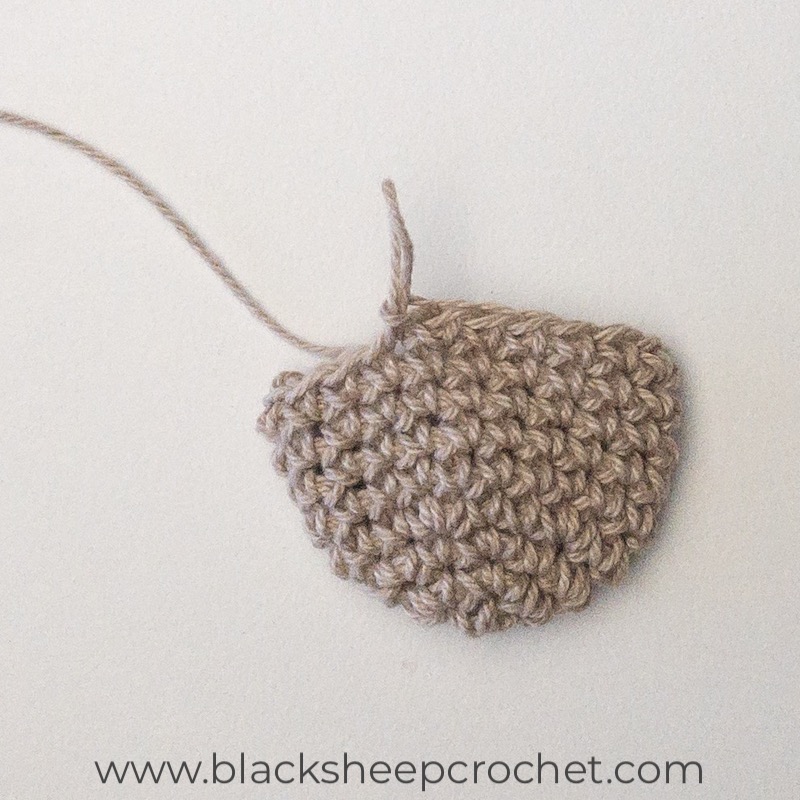
If you are happy with the size of your hat after Round 8 or Round 9, sl st into the next st and finish with the “Invisible Finish”, then cut the yarn and weave in the end. Otherwise continue to optional partial round 9 or 10.
Optional Partial Round 9 or 10: 8 sc, sl st into the next st and finish with the “Invisible Finish”, then cut the yarn and weave in the end.
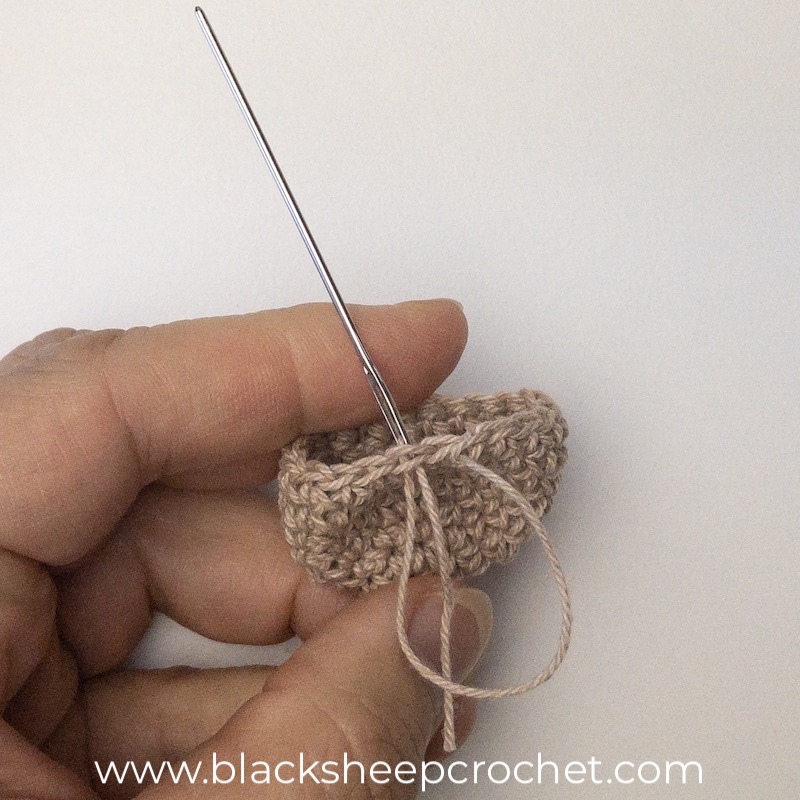
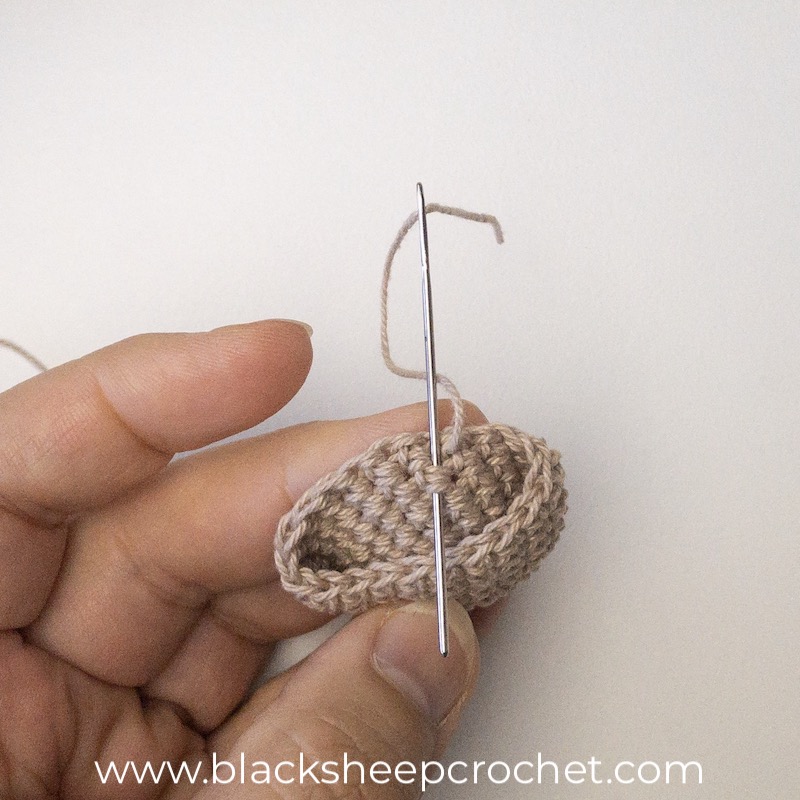
Invisible Finish
Insert needle from front to back through both loops, then back into the middle of the slip stitch
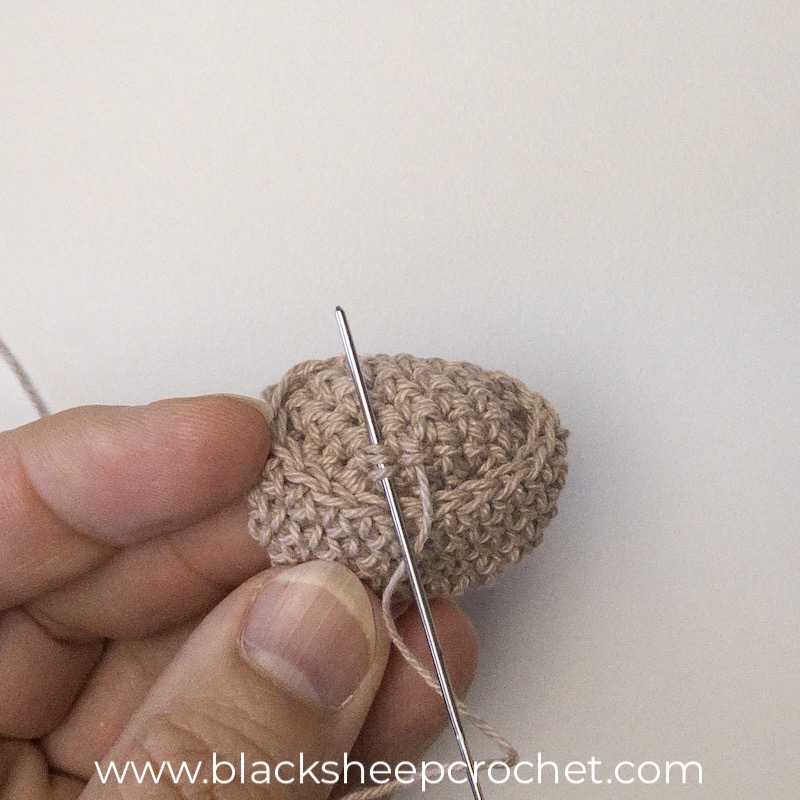
Weaving in ends
go down a few loops…
…then up again once
Simple Beanie For Brother
Round 1: 5 sc into Magic Ring, pull the ring tight [5 sc]
Optional but helpful: insert st m into the top of the last sc or place a piece of scrap yarn in front of your hook before you make the next sc.
Round 2: Without joining, continue into the next stitch:
5 inc [10 sc] – Hint: you will make the last inc into the st with the st m, respectively in the last st before the piece of scrap yarn.
Measure your hat after Round to decide whether or not you want to add another round or the optional partial Round 8.
If you are happy with the size of your hat after Round 8 or Round 9, sl st into the next st and finish with the “Invisible Finish”, then cut the yarn and weave in the end. Otherwise continue to optional partial round 8.
Optional Partial Round 8: 5 or 6 sc, sl st into the next st and finish with the “Invisible Finish”, then cut the yarn and weave in the end.
Simple Beanie For Sister and Child
Round 1: 6 sc into Magic Ring, pull the ring tight [6 sc] Optional but helpful: insert st m into the top of the last sc or place a piece of scrap yarn in front of your hook before you make the next sc.
Round 2: Without joining, continue into the next stitch:
6 inc [12 sc] – Hint: you will make the last inc into the st with the st m, respectively in the last st before the piece of scrap yarn.
Rounds 3 – 5: sc around [12 sc]
Measure your hat after Round 5 to decide whether or not you want to add a partial round 6.
If you are happy with the size of your hat after Round 5, sl st into the next st and finish with the “Invisible Finish”, then cut the yarn and weave in the end. Otherwise continue to optional partial round 6.
Optional Partial Round 6: 5sc, sl st into the next st and finish with the “Invisible Finish”, then cut the yarn and weave in the end.
Round 1: 5 sc into Magic Ring, pull the ring tight [5 sc]
Optional but helpful: insert st m into the top of the last sc or place a piece of scrap yarn in front of your hook before you make the next sc.
Round 2: Without joining, continue into the next stitch:
5 inc [10 sc] – Hint: you will make the last inc into the st with the st m, respectively in the last st before the piece of scrap yarn.
Round 3 – 4: sc in each st around [10 sc]
Measure your hat after Round 4 to decide whether or not you want to add another round or the optional partial round 5.
If you are happy with the size of your hat after round 4, sl st into the next st and finish with the “Invisible Finish”, then cut the yarn and weave in the end. Otherwise continue to partial round 5.
Optional Partial Round 5: 4 or 5 sc, sl st into the next st and finish with the “Invisible Finish”, then cut the yarn and weave in the end.
I hope you enjoy this pattern. By the way, I’m creating a complete product line called “Peg Doll Accessories PatternCollection” and everyone on my email list will get a head start to see it. If you are not already subscribed, you can do so below and even grab a 20% discount code to use for any pattern or product purchases.