WIJ CAL Square 7 The Duel Pattern NEW

Outlanding Stitch Compendium

The Duel is the first square that has been written in the new “Petranese” – the Black Sheep Crochet way of writing overlay crochet patterns. 

Squares 1 – 6 are currently updated from ‘OLD’ to ‘NEW’ Petranese. If you are not yet familiar with the new system, you can download your free copy of the Outlanding Stitch Compendium with explanations, instructions and photo tutorials for some special stitches here:

Alternatively, visit the online version (currently still a work in progress) 

Outlanding Stitch Compendium Resource Page

Background Story and Designer's Thoughts

If you are interested in the background story and thoughts about the inspiration for design, colour and choice of stitches used, you can do that here:

Square 7 – The Duel – Background Story and Designer’s Thoughts

Skill Level

Wrapped in Jamie square are designed in overlay crochet technique, which requires an understanding of basic crochet terminology and stitches. Most overlay crochet patterns are therefore by default classified as intermediate or even advanced. 

The Outlanding Stitch Compendium, however, has been created with an adventurous beginner in mind. It contains explanations for every aspect that is relevant in order to comprehend the patterns. (see above for download or website options)

Gauge

Gauge is not important for these squares, but using the same yarn and tension for all squares and potentially the square border, big Claire square and triangles is. 

Here are some statistics for yarn I used to make the squares:

Recommended Yarn and Yardage

Drops Baby Merino Fingering/Sock/4ply
Gauge 24 sts x 32 rows with a 3mm/US2.5/D-3/UK 11 hook
175m/50g (191yds/1.75oz)

(available as part of a yarn kit from Wool Warehouse)

Yarn Requirements:
Inner Square: approximately 80m/90yds

Lincraft Homebrand DK/Light Worsted/8ply
Gauge 22 sts x 30 rows with a 4mm/US G/6/UK8 hook
100m/50g ( 110yds/1.75oz)
(sadly, available in Australia only)

Yarn Requirements:
Inner Square: approximately 95m/105yds

Drops Paris Worsted/Aran/10ply
Gauge 17 sts x 22 rows with a 5mm/US-H/8/UK-6 hook
75m/50g (82yds/1.75oz)
(available as part of a yarn kit from Wool Warehouse)

Yarn Requirements:
Inner Square: approximately 113m/124yds

Terminology

In one word: Hilarious. 

In three phrases: Petranese. Germanised British English. US crochet terms.

Seriously: US crochet terms

Explained: 
– When I started to read English crochet patterns, the first ones were written in US crochet terminology, which to me makes more sense than UK terminology (hence the US crochet terms) – no offence to UK terminology intended.  
– My mother language is German (hence the Germanism including funny phrases, grammar and spelling mistakes)
– I live in Australia (hence the British English).  
– I could not find a way of easily describing stitch placements for overlay crochet special stitches, so I ‘invented’ a system. One of my facebook group members called it ‘Petranese’. 

Video Tutorials

You can find all video tutorials for this and other released squares in my YouTube Channel for Black Sheep Crochet, where you can also subscribe for automatic notification when new videos are uploaded.

All videos are also in Germanised British English US crochet terms Petranese.

NO VIDEO TUTORIAL MAY BE CREATED FROM THIS PATTERN – IN ANY LANGUAGE – WITHOUT THE DESIGNER’S WRITTEN PERMISSION!

PDF Download

Your resources for this pattern are
a free written pattern page (this one)
– including finished round pictures and
picture tutorial for tricky stitches
a free video tutorial (right-handed and left-handed version)
– pattern support in our dedicated Facebook and Ravelry groups

There is no obligation to download the PDF version of this pattern. If you are a bit tech savvy or know someone who is, you can make a PDF from the website.

However, if you like the pattern and want to support my design work or appreciate the pattern without ads to take along with you, there is an option to purchase the ad-free PDF version of this pattern for a small contribution through the shop. 

PDF purchases include the following bonuses:

  • a 60 page pattern booklet
  • my very own unofficial, hand ‘written’ design chart
  • Visuals for all rounds with special stitches / repeats or repeats within repeats / complicated rounds
  • Suggestions and photos for stitch marker placement
  • pattern as written pattern only AND detailed step-by-step, close-up photo tutorial pattern version

Translations

The patterns are currently only available in Germanised British English US crochet terms Petranese.

There are plans to have the patterns translated into different languages at a later stage.

THIS PATTERN MUST NOT BE TRANSLATED INTO ANOTHER LANGUAGE (EXCEPT FOR YOUR OWN PERSONAL USE) WITHOUT THE DESIGNER’S WRITTEN PERMISSION!

You will also need

  • scissors
  • darning needle to weave in ends
  • stitch markers (optional, but highly recommended, this could even be a yarn scrap, a hair pin or a paperclip)

Reminder

For each special stitch you make in front, behind, around or in the front loop of another stitch from a previous round, you must leave the stitch behind or in front of the special stitch unworked (skip 1 stitch) unless instructed otherwise. 

The ch1 at the beginning of the round does not count as a stitch and will be skipped when we slip stitch into the first sc at the end of each round.

Keep the slip stitch that closes the round loose as it will replace the sc below as the last stitch of the next round.

Specials Stitches used in this pattern

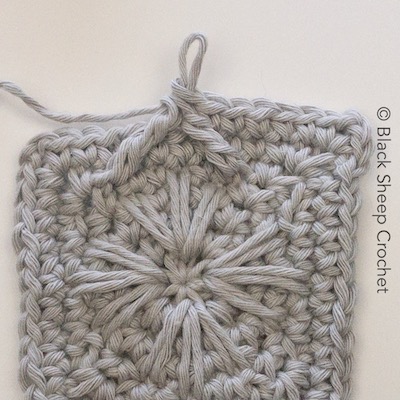
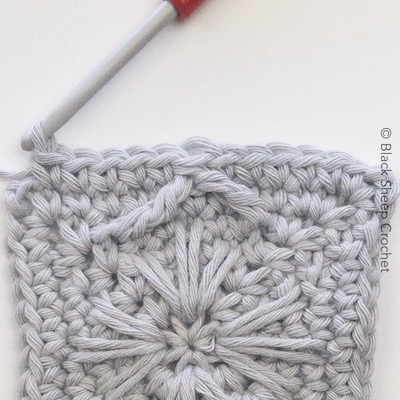
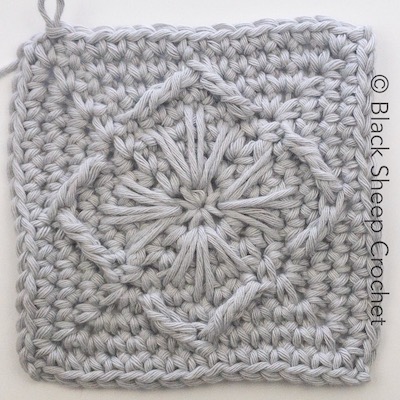
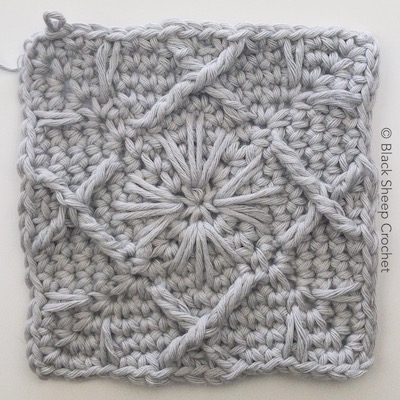
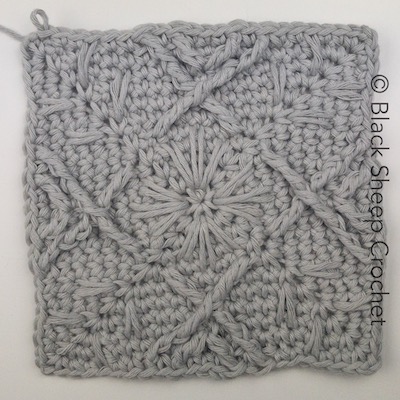
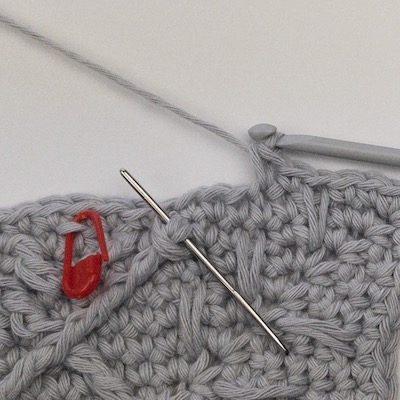
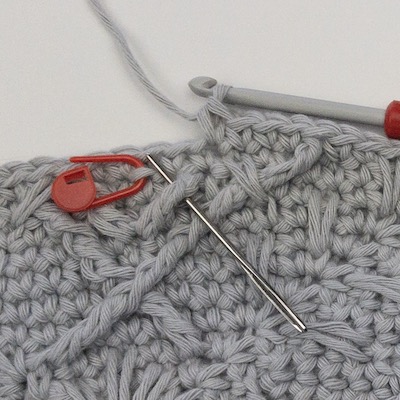
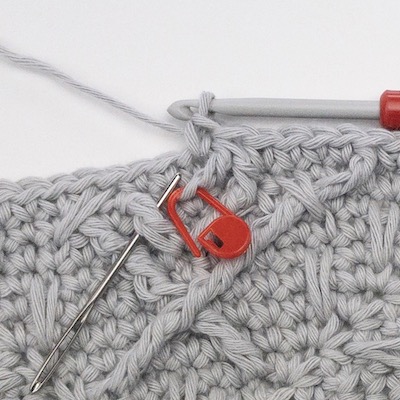
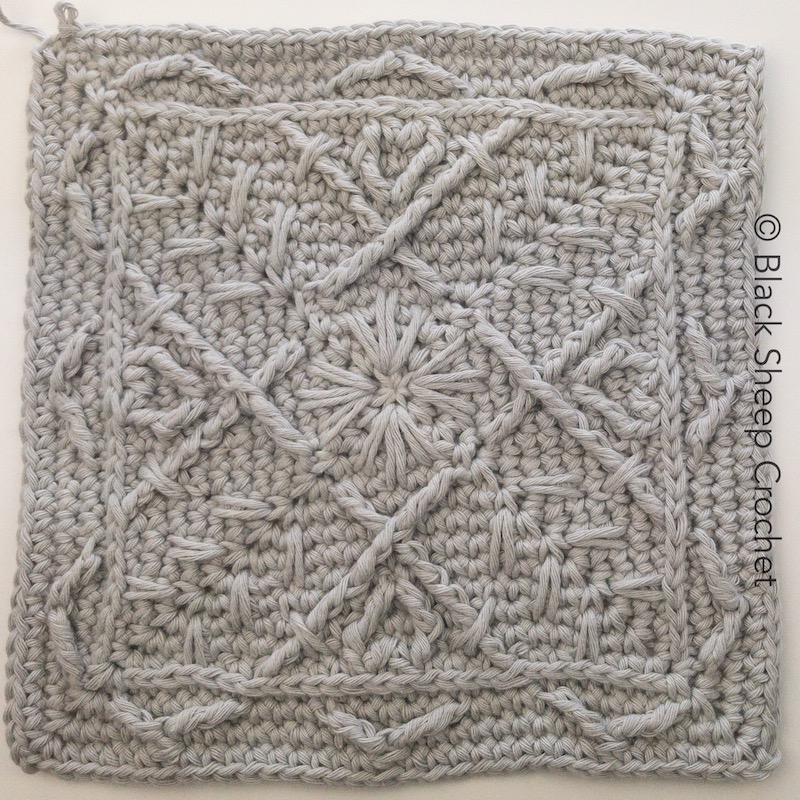
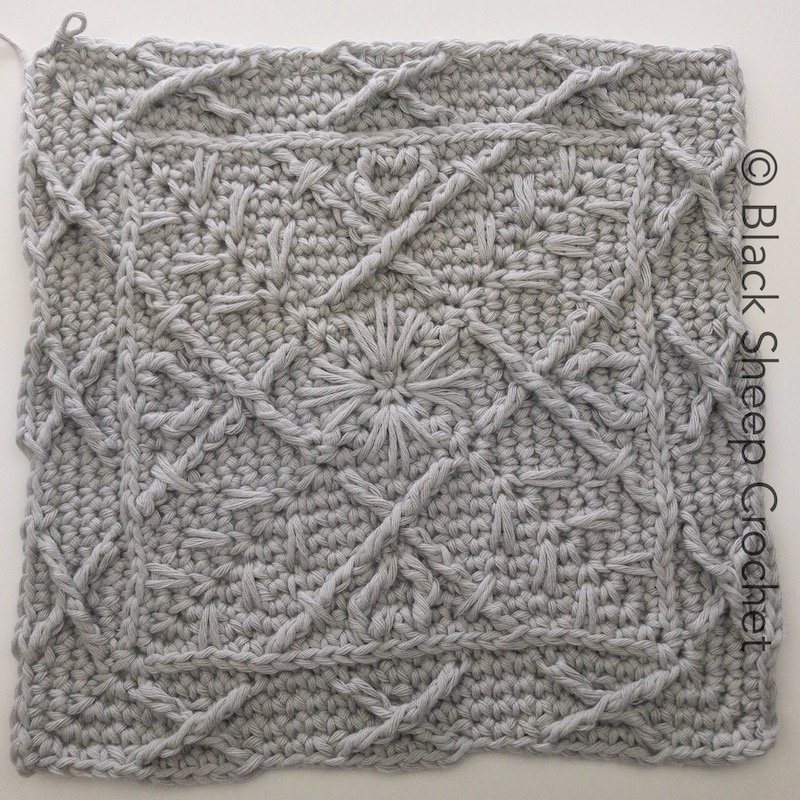
Special stitches relevant for this pattern are outlined below and specified in more detail above each round.

Skip 1 st behind (dcbb: in front of) each special stitch, continue in the next.

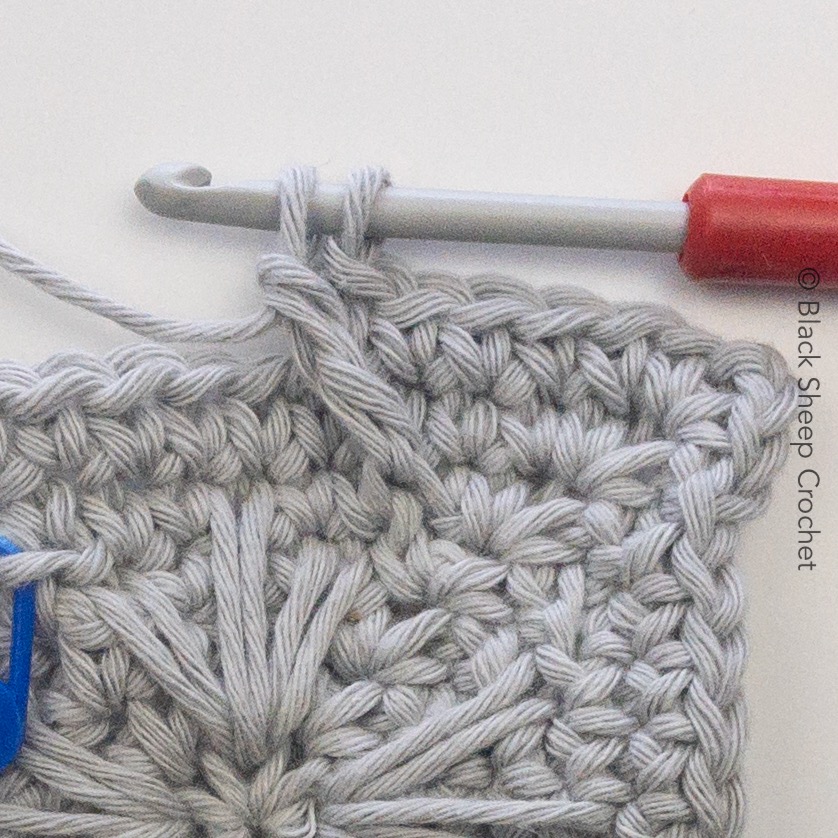
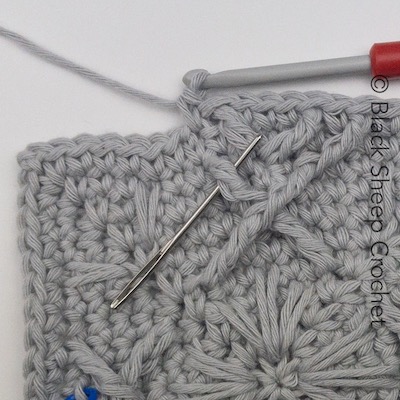
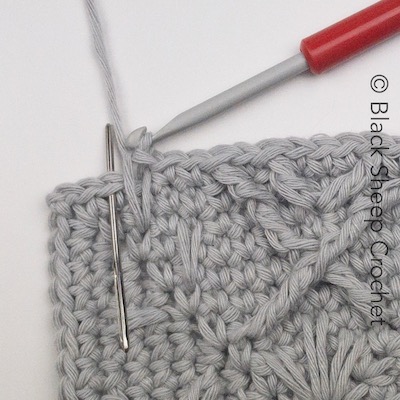
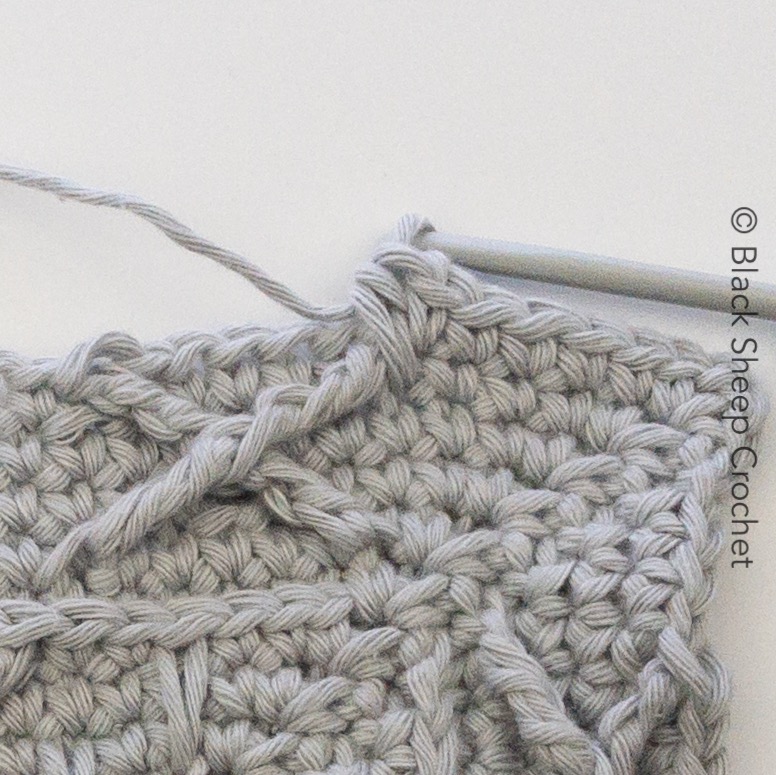
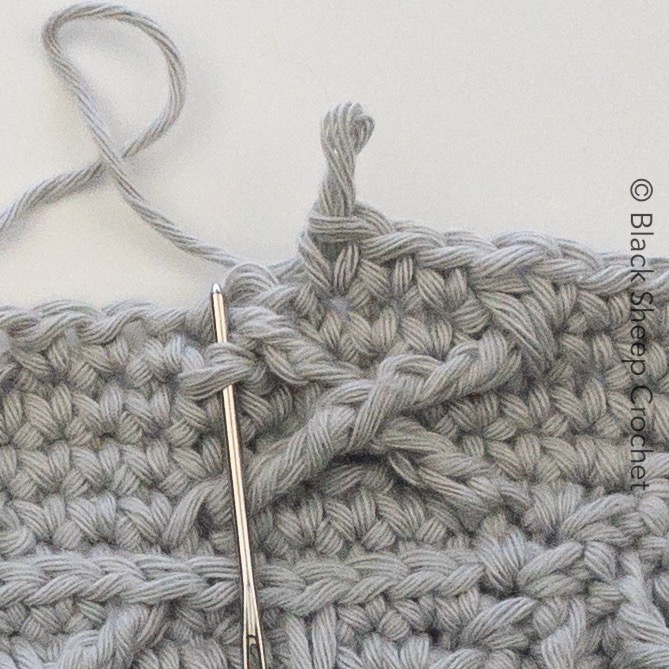
Note: If you have difficulties getting INTO the sc for split Spike stitches, take a smaller crochet hook to “bore” into the sc, then finish the st with the normal hook. The hook should emerge underneath the 3rd loop on the wrong side. 

spSp_+2-3split Spike stitch into the st 2 ahead and 3 rounds below the next stitch 

spSp_-2-3 split Spike stitch into the st 2 behind and 3 rounds below the next stitch 

spSp_0-4split Spike stitch into the st 4 rounds below the next stitch 

tr_-3-3 in FLO/tr_+3-3 in FLO/<2tog2 sts together with first leg a treble in FLO of the st 3 behind and 3 rounds below the next stitch and second leg a treble in FLO of the st 3 ahead and 3 rounds below the next stitch 

spSp_0-3split Spike stitch into the st 3 rounds below the next stitch 

fptr_+2-2 front post treble around the st 2  ahead and 2 rounds below the next stitch

fptr_+2-2-x front post treble around just the second leg of the st 2  ahead and 2 rounds below the next stitch (tr<2tog – leg)

fptr_-2-2 front post treble around the st 2 behind and 2 rounds below the next stitch (tr<2tog)

tr_+2-3 in FLO treble in FLO of the st 2 ahead and 3 rounds below the next stitch 

tr_-2-3 in FLO treble in FLO of the st 2 behind and 3 rounds below the next stitch

spSp_-2-2 split Spike stitch into the st 2 behind and 2 rounds below the next stitch 

spSp_+2-2 split Spike stitch into the st 2 ahead and 2 rounds below the next stitch 

spSp_0-3split Spike stitch into the st 3 rounds below the next stitch 

fpdc_-1-2/dc_+1-2 in FLO/<2tog 2 sts together with first leg a fpdc around the st 1  behind and 2 rounds below the next stitch (tr) and second leg a dc in FLO of the st 1  ahead and 2 rounds below the next stitch 

dc_-1-2 in FLO/fpdc_+1-2/<2tog 2 sts together with first leg a dc in FLO of the st 1  behind and 2 rounds below the next stitch and second leg a fpdc around the st 1  ahead and 2 rounds below the next stitch (tr)

tr_-3-2 in FLO/tr_+3-2 in FLO/<2tog 2 sts together with first leg a tr in FLO of the st 3 behind and 2 rounds below the next stitch and second leg a tr in FLO of the st 3 ahead and 2 rounds below the next stitch

fptr_+3-2-x front post treble around just the second leg of the st 3 ahead and 2 rounds below the next stitch (tr<2tog)

fptr_-3-2 front post treble around the whole st 3 sts behind and 2 rounds below the next stitch (tr<2tog)

hdc-around_-1-2half double crochet around – yo, insert the hook through both loops of the skipped st 1 behind and 2 rounds below the next stitch and make a loose hdc, encompassing all loops and the st in between (fptr)

hdc-around_+1-2half double crochet around – yo, insert the hook through both loops of the skipped st 1 ahead and 2 rounds below the next stitch and make a loose hdc, encompassing all loops and the st in between (fptr)

Pattern

Begin

with a Magic Circle (MC) or Double Magic Circle (DMC). 

If you are unfamiliar with the MC / DMC or don’t want to use it and you don’t mind the hole in the middle of the square, you can start with 2 ch and crocheting Round 1 into the first ch.

Round 1

Ch1, [sc into MC / DMC, ch2] 4 times. Close your MC / DMC tightly.

Ss into the first sc of the corner to close the round . – 1 stitch per side plus ch2 corner space

Note: If you crochet over the loose tail for a few rounds, you won’t have to weave it in later

Round 2

Ch1, [(sc, ch2, sc) into the ch2 corner space, sc] 4 times. 

Ss into the first sc of the starting corner. –
3 sts per side plus ch2 corner space

Round 3

Ch1, [(sc, ch2, sc) into the ch2 corner space, 3 sc] 4 times. 

Ss into the first sc of the starting corner. –
5 sts per side plus ch2 corner space

Round 4

Special Stitches in Round 4:

spSp_+2-3split Spike stitch into the st 2 ahead and 3 rounds below the next stitch (splitting the sc that was made into the MC / DMC – Round 1)

spSp_-2-3 split Spike stitch into the st 2 behind and 3 rounds below the next stitch (same sc in which you just made the first spSP – Round 1)

Ch1, [(sc, ch2, sc) into the ch2 corner space, spSp_+2-3, 3 sc, spSp_-2-3] 4 times.

Ss into the first sc of the starting corner. –
7 sts per side plus ch2 corner space

Round 5

Special Stitch in Round 5:

spSp_0-4split Spike stitch into the st 4 rounds below the next stitch (between the 2 split Spike stitches you already made into this sc – Round 1)

Ch1, [(sc, ch2, sc) into the ch2 corner space, sc in BLO, 2 sc, spSp_0-4, 2 sc, sc in BLO] 4 times. 

Ss into the first sc of the starting corner. –
9 sts per side plus ch2 corner space

Suggested stitch marker placement for Round 7:
in the free front loops of the stitches from Round 4

Round 6

Ch1, [(sc, ch2, sc) into the ch2 corner space, 9 sc] 4 times. 

Ss into the first sc of the starting corner. –
11 sts per side plus ch2 corner space

Optional stitch marker placement for Round 9:
around each sc that was made into the ch2 corner space

Round 7

Special Stitch in Round 7:

tr_-3-3 in FLO/tr_+3-3 in FLO/<2tog2 sts together with first leg a tr in FLO of the st 3 behind and 3 rounds below the next stitch and second leg a tr in FLO of the st 3 ahead and 3 rounds below the next stitch (free front loops from Round 4, marked with st marker)

Ch1, [(sc, ch2, sc) into the ch2 corner space, 5 sc, tr_-3-3 in FLO/tr_+3-3 in FLO/<2tog, 5 sc] 4 times. 

Ss into the first sc of the starting corner. –
13 sts per side plus ch2 corner space

Round 8

Ch1, [(sc, ch2, sc) into the ch2 corner space, 13 sc] 4 times. 

Ss into the first sc of the starting corner. –
15 sts per side plus ch2 corner space

Optional stitch marker placement for Round 11: 
around each sc that was made into the ch2 corner space

Round 9

Special Stitches in Round 9:

spSp_0-3split Spike stitch into the st 3 rounds below the next stitch (splitting the sc that was made into the ch2 corner space in Round 6 – marked with a st marker)

fptr_+2-2-x front post treble around the second leg only of the tr<2tog 2 sts ahead and 2 rounds below the next stitch (Round 7)

fptr_-2-2 front post treble around the st 2 behind and 2 rounds below the next stitch (insert the hook behind the fptr_+2-2-x crossing and the  tr/tr/<2tog from Round 7 so that the crossing stays in front)

Ch1, [(sc, ch2, sc) into the ch2 corner space, 2 sc, spSp_0-3, 2 sc, fptr_+2-2-x, sc, sc in BLO, sc, fptr_-2-2, 2sc, spSp_0-3, 2 sc] 4 times. 

Ss into the first sc of the starting corner. –
17 sts per side plus ch2 corner space

Suggested stitch marker placement for Round 11: 
in the free front loops of the sts from Round 8

Round 10

Ch1, [(sc, ch2, sc) into the ch2 corner space, 17 sc] 4 times. 

Ss into the first sc of the starting corner. –
19 sts per side plus ch2 corner space

Optional stitch marker placement for Round 13: 
around each sc that was made into the ch2 corner space

Round 11

spSp_0-3split Spike stitch into the st 3 rounds below the next stitch (splitting the sc  that was made into the ch2 corner space in Round 8 – marked with a st marker)

fptr_+2-2 front post treble around the st 2 ahead and 2 rounds below the next stitch (fptr from Round 9)

fptr_-2-2 front post treble around the st 2 behind and 2 rounds below the next stitch (fptr from Round 9)

tr_+2-3 in FLO treble in FLO 2 sts ahead and 3 rounds below the next stitch (Round 8)

tr_-2-3 in FLO treble in FLO 2 sts behind and 3 rounds below the next stitch (same FLO in which you just made the tr_+2-3 in FLO – Round 8)

Ch1, [(sc, ch2, sc) into the ch2 corner space, 2 sc, spSp_0-3, 2 sc, fptr_+2-2, sc, tr_+2-3 in FLO, 3 sc, tr_-2-3 in FLO, sc, fptr_-2-2, 2 sc, spSp_0-3, 2 sc] 4 times. 

Ss into the first sc of the starting corner. –
21 sts per side plus ch2 corner space

Suggested stitch marker placement for Round 12: 
in the 9th st (both loops of tr_+2-3) and 15th st (both loops of the fptr_-2-2) from the starting corner

Round 12

Special Stitches in Round 12:

spSp_-2-2 split Spike stitch into the st 2 behind and 2 rounds below the next stitch 

spSp_+2-2 split Spike stitch into the st 2 ahead and 2 rounds below the next stitch

Ch1, [(sc, ch2, sc) into the ch2 corner space, 7 sc, spSp_-2-2, 2 sc (the first  one into the st with the marker), sc in BLO, 2 sc, spSp_+2-2, 7 sc (the first one into the st with the marker)] 4 times. 

Ss into the first sc of the starting corner. –
23 sts per side plus ch2 corner space

Hint: Each of the angular spSP in this round is made into the sc directly above the spSp from Round 9

Suggested stitch marker placement for Round 13:
in the free front loop of the stitch from Round 11 (red st marker)

Round 13

Round 14 will be worked in 3rd loops only. If you find making sc in the 3rd loop difficult, please refer to ‘Hint for Rounds 13/14, 19/20 (and 29/30 of the Border)’ in the ‘Outlanding Stitch Compendium’ to make this easier.

Special Stitches in Round 13:

spSp_0-3split Spike stitch into the st 3 rounds below the next stitch (splitting the sc that was made into the ch2 corner space in Round 10 – marked with a st marker)

fptr_+2-2 front post treble around the fptr 2 sts ahead and 2 rounds below the next stitch (insert your hook around the fptr from Round 11 by pulling it a bit from underneath the spSp from Round 12; the spSp stays in front)

fpdc_-1-2/dc_+1-2 in FLO/<2tog 2 sts together with first leg a fpdc around the tr 1 st behind and 2 rounds below the next stitch and second leg a dc in FLO 1 st ahead and 2 rounds below the next stitch (Round 11)

dc_-1-2 in FLO/fpdc_+1-2/<2tog 2 sts together with first leg a dc in FLO of the st 1  behind and 2 rounds below the next stitch (the same FLO where you just made the second leg of the fpdc/dc/<2tog) and second leg a fpdc around the tr 1 st ahead and 2 rounds below the next stitch (Round 11)

fptr_-2-2 front post treble around the fptr 2 sts behind and 2 rounds below the next stitch (insert your hook around the fptr from Round 11 by pulling it a bit from underneath the spSp from Round 12; the spSp stays in front)

Ch1, [(sc, ch2, sc) into the ch2 corner space, 2 sc, spSp_0-3, 2 sc, fptr_+2-2, 4 sc, fpdc_-1-2/dc_+1-2 in FLO/<2tog, sc, dc_-1-2 in FLO/fpdc_+1-2/<2tog,  4 sc, fptr_-2-2, 2 sc, spSp_0-3, 2 sc] 4 times.

Ss into the first sc of the starting corner. –
25 sts per side plus ch2 corner space

Round 14

Ch1, [(sc, ch2, sc) into the ch2 corner space, 25 sc in 3rd loop] 4 times.

Ss into the sc of the starting corner. –
27 sts per side plus ch2 corner space

Round 15

Ch1, [(sc, ch2, sc) into the ch2 corner space, 

(sc in BLO, 5 sc, sc in BLO, 3 sc) twice, sc in BLO, 5 sc, sc in BLO] 4 times. 

Ss into the first sc of the starting corner. –
29 sts per side plus ch2 corner space

Optional stitch marker placement for Round 16:
in the free front loop of the stitches from Round 14

Round 16

Special Stitch in Round 16:

tr_-3-2 in FLO/tr_+3-2 in FLO/<2tog 2 sts together with first leg a tr in FLO of the st 3 behind and 2 rounds below the next stitch and second leg a tr in FLO of the st 3 ahead and 2 rounds below the next stitch (Round 14)

Ch1, [(sc, ch2, sc) into the ch2 corner space, 4 sc, (tr_-3-2 in FLO/tr_+3-2 in FLO/<2tog, 9 sc) twice, tr_-3-2 in FLO/tr_+3-2 in FLO/<2tog, 4 sc] 4 times.

Ss into the first sc of the starting corner. –
31 sts per side plus ch2 corner space

Round 17

Ch1, [(sc, ch2, sc) into the ch2 corner space, 31 sc] 4 times.

Ss into the first sc of the starting corner. –
33 sts per side plus ch2 corner space

Round 18

Special Stitches in Round 18:

fptr_+3-2-x front post treble around just the second leg of the tr<2tog 3 sts ahead and 2 rounds below the next stitch (Round 16)

fptr_-3-2 front post treble around the whole tr<2tog 3 sts behind and 2 rounds below the next stitch (same tr<2tog as before – work this fptr behind the previous fptr, so that the fptr crossing stays in front – Round 16)

Ch1, [(sc, ch2, sc) into the ch2 corner space, (3 sc, fptr_+3-2-x, 5 sc, fptr_-3-2) 3 times, 3 sc] 4 times. 

Ss into the first sc of the starting corner. –
35 sts per side plus ch2 corner space

Suggested stitch marker placement:
in the top loops of every fptr_-3-2 

Round 19

Note: Round 20 will be worked in 3rd loops only again. If you decided to use an alternative way of making Rounds 13/14 from the ‘Hints for Rounds 13/14, 19/20 (and 29/30 of the Border)’ in the ‘Outlanding Stitch Compendium’ apply this here as well. It is recommended to use the same method for all squares and all square borders, especially when the heights of rounds are affected.

Special Stitches in Round 19:

hdc-around_-1-2half double crochet around – yo, insert the hook through both loops of the skipped st 1 behind and 2 rounds below the next stitch (on the right side of the fptr_+3-2 from Round 18 – left side for left-handers – Round 17) and make a loose hdc, encompassing all loops and the fptr in between 

hdc-around_+1-2half double crochet around – yo, insert the hook through both loops of the skipped st 1 ahead and 2 rounds below the next stitch (on the left side of the fptr_-3-2 from Round 18 – right side for left-handers -Round 17) and make a loose hdc, encompassing all loops and the fptr in between

Ch1, [(sc, ch2, sc) into the ch2 corner space, (5 sc, hdc-around_-1-2, 3 sc, hdc-around_+1-2) 3 times, 5sc] 4 times.

Note: The first sc (made into the marked stitch) and last sc of each of the groups of 5 scs are made into the fptr of Round 18. Exceptions are the very first and very last sc on each side, which are made into the sc just after/before the ch2 corner space.

If you want to add the square border or work the last round of the square in a different colour, fasten off the first colour now. Finish with an invisible join, weave in the ends and skip to ‘Colour change for Round 20’ or continue with the Square Border pattern (available for free on the website) for Rounds 20 – 30. https://blacksheepcrochet.com/wij-cal-square-border-new/ (link is not live yet – the page is currently updated – you can still use the instructions for the ‘old’ border. The pattern is the same, just the writing is different)

To continue with the same colour for Round 20 and/or the square border, ss into the first sc of the starting corner. Skip to Round 20 – 37 sts per side plus ch2 corner space

Colour change for Round 20: Although you could add the new colour in any way you wish, the neatest way is by using a standing sc. If you choose this method, omit the ch1 and the first sc at the beginning of Round 20 and continue with the ch2 after the standing sc.

Round 20

Ch1, [(sc, ch2, sc) into the ch2 corner space, 37 sc in 3rd loop] 4 times. 

Finish with an invisible join. –
39 sts per side plus ch2 corner space

Fasten off and weave in ends.

Congratulations, your Square 7 – The Duel is now finished 🙂