This website uses US crochet terminology. Please refer to the US-UK terminology chart to translate US terminology into UK terms.
This stitch has been first introduced in Season 2 of the Wrapped In Jamie CAL, with Claire being the first square of the season.
Decorative Corners
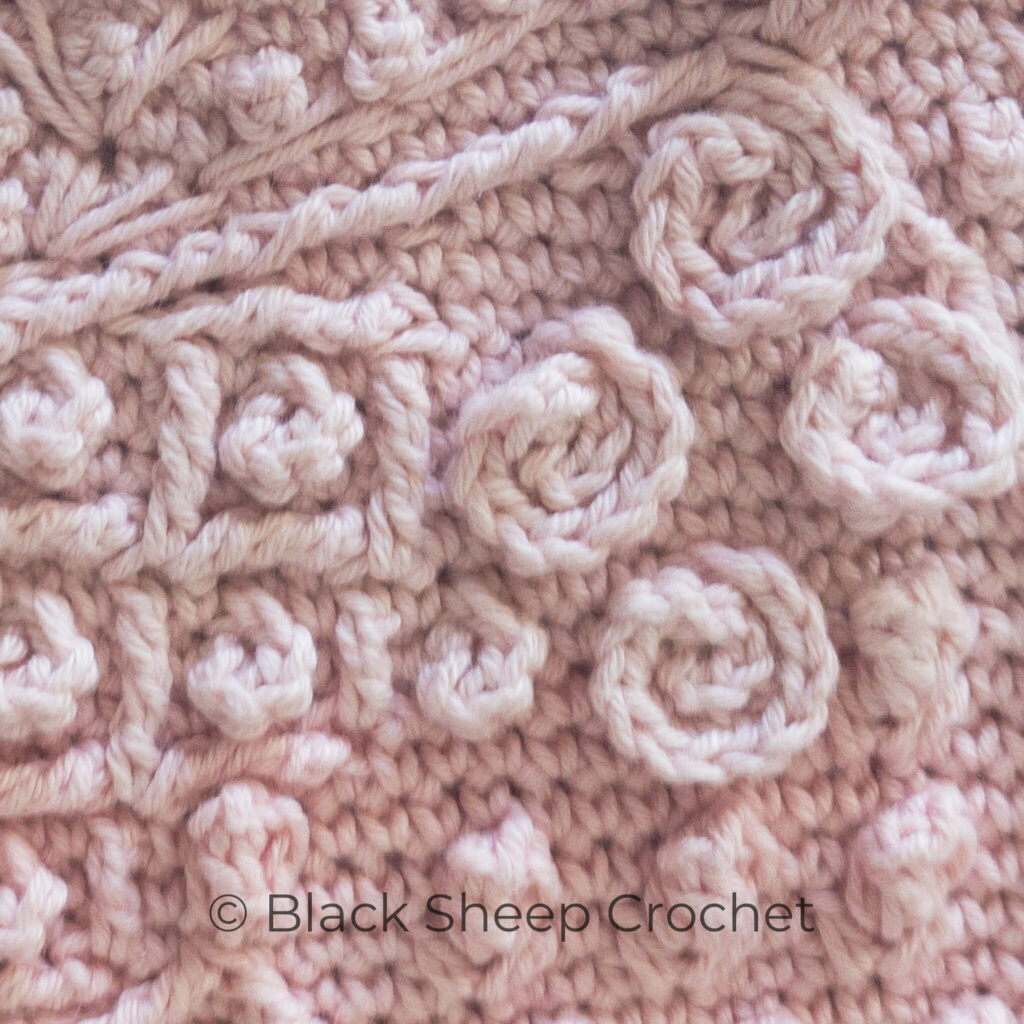
Decorative corners are excellent tools to define sections and draw to attention to the often neglected corners of square.
In Part 3 of the Claire Square, the first square in Season 2 of the Wrapped in Jamie CAL, decorative corners are used to show a transition from the beginning of the ‘story’ (written in yarn) to the point where Jamie meets Claire (read the background story here)
PDF download
What is a Twisted Corner?
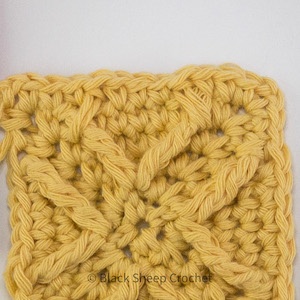
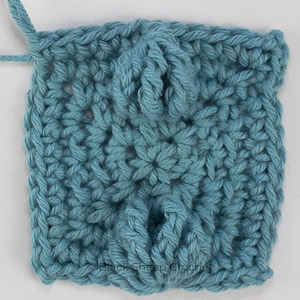
The Twisted Corner starts with a set-up round and then can be extended for as long as desired.
It covers the ‘holes’ that are typical for a (sc, ch2, sc) corner.
The twisted corner is decorative, the twists can be easily mirrored, if desired, and it adds a three-dimensional aspect to the project.
How to work the Twisted Corner
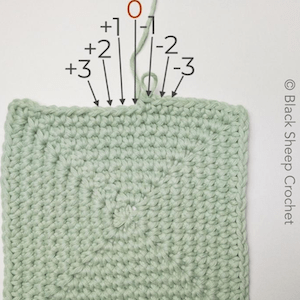
Place a st marker in the top loops of the first sc on the next side. This will ensure that you find the first st to work into.
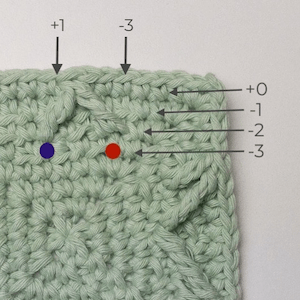
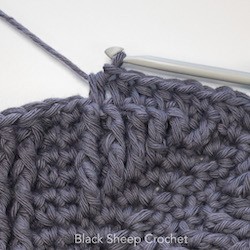
In the set-up corner, the first fpdc is worked around the first sc of the next side (= fpdc-sc1) and the second fpdc is worked around the last sc of the previous side. (= fpdc-sc2)
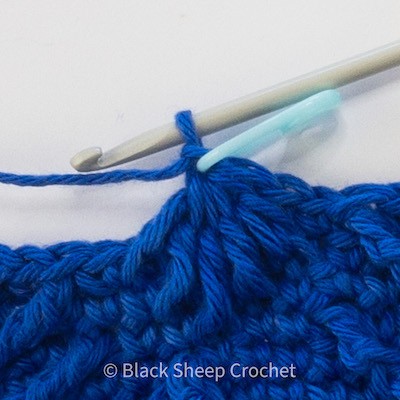
In the next round, the first fpdc is worked around the fpdc-sc2 of the corner in the previous round (=> is now the fpdc-dc1) and the second fpdc is worked – in front of the fpdc-dc1 just made – around the fpdc-sc1 of the same corner (=> is now the fpdc-dc2).
In each following round with a twisted corner, the new fpdc-dc1 is worked around the st that was the fpdc-2 of the previous round and the new fpdc-dc2 is worked around the st that was the fpdc-1 of the previous round of that same corner. You will most likely have to pull the previous fpdc-dc1 out from behind the fpdc you just made in order to be able to work around it properly. This is easiest done using your hook.
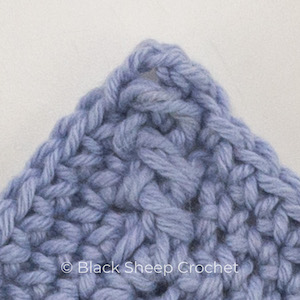
Twisted Corner
(fpdc, ch2, fpdc) into the ch2 corner space; work the first fpdc around the fpdc on the next side 1 round below, ch2, work the next fpdc – in front of the previously made fpdc – around the fpdc on the previous side 1 round below
First Twisted Corner (Set-up Corner)
Beginning of the round / First side
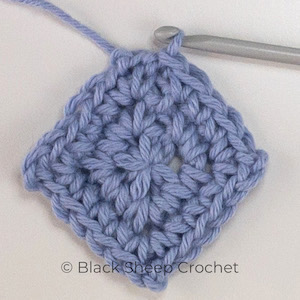
The set-up corner is worked into a (sc, ch2, sc) corner
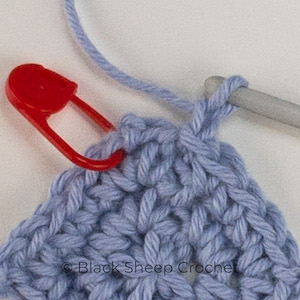
Place a stm in the top loops of the first sc on the next side.
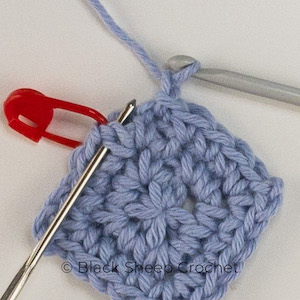
Work a fpdc around that sc (indicated)
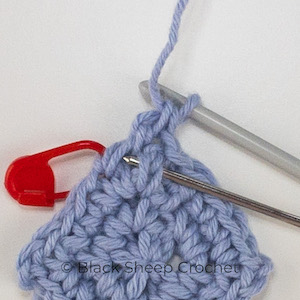
fpdc-sc1 finished,
(next st indicated)
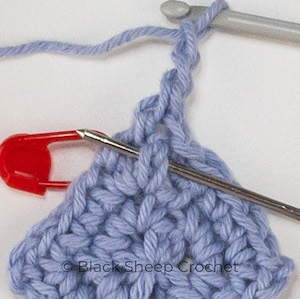
ch2,
work a fpdc – in front of the fpdc-sc1 just made – around the last sc of the previous side; this is the first sc that was made in this ch2 corner space in the last round, (indicated)
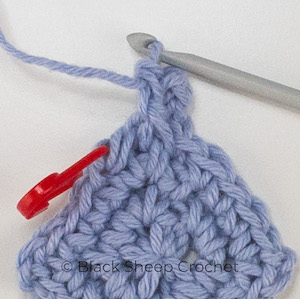
work the next st as instructed – here: sc in the first st of the next side (= top loops of the st around which the first fpdc was worked; marked with stm)
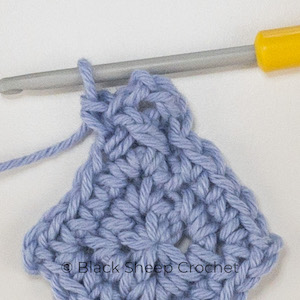
finished fpdc-sc2
(including the first sc after the twisted corner)
First Round – second side and closing the round
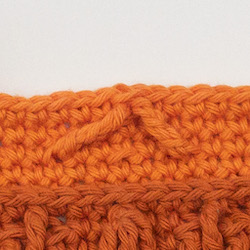
In the second corner, make sure to work the second fpdc around the sc in the same corner as the first fpdc was worked, not the sc from the current round
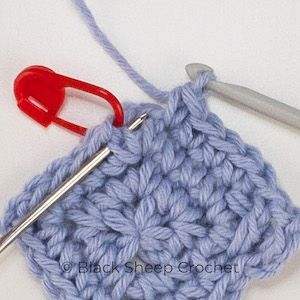
Work the first fpdc around the sc (first sc on the next side – second corner; indicated)
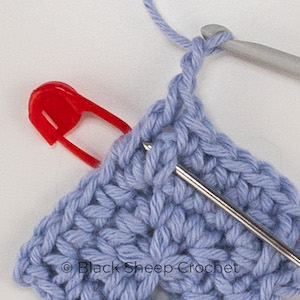
Work around the sc in the same corner (indicated)

close the round with a ss into the top loops of the first fpdc (indicated)
Second and following Rounds
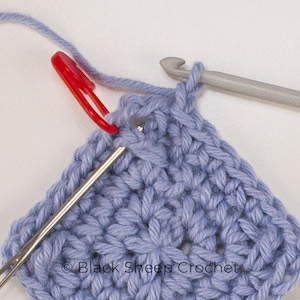
Work the first fpdc around the dc on the next side
(second corner for this round; indicated)
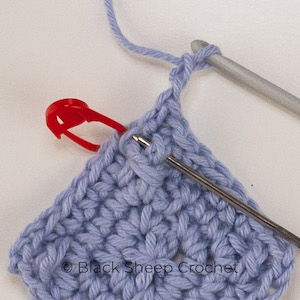
ch2,
fpdc around the last dc of the previous side (this is the first fpdc you made in the previous round – you may have to pull it out from underneath the other fpdc)
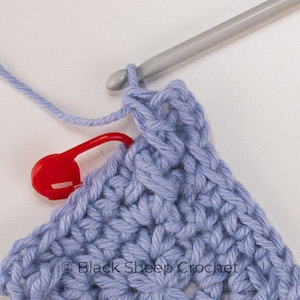
work in the first st of the next side (indicated) or as instructed
Download the Twisted Corner Tutorial
Right-handed video tutorial
Left-handed video tutorial
More Free Tutorials
‘Petranese’ explained –
dcbb – double crochet behind and below
‘Petranese’ explained –
Long dc Star (5 legs) tutorial
‘Petranese’ explained –
Clover Blossom
